6 ft American-Style Temporary Chain-Link Panels
A movable six-foot American-style chain-link boundary works as an assembly of framed diamond fabric, supports and joining hardware. Send the sections you will move, the gate details and the space available to handle a pack. A bay taken from the site is a useful reference for a replacement order.
- Order unit
- Framed bay, feet and connector set
- Handling reference
- A lift and staging plan for the packs you will move between work areas
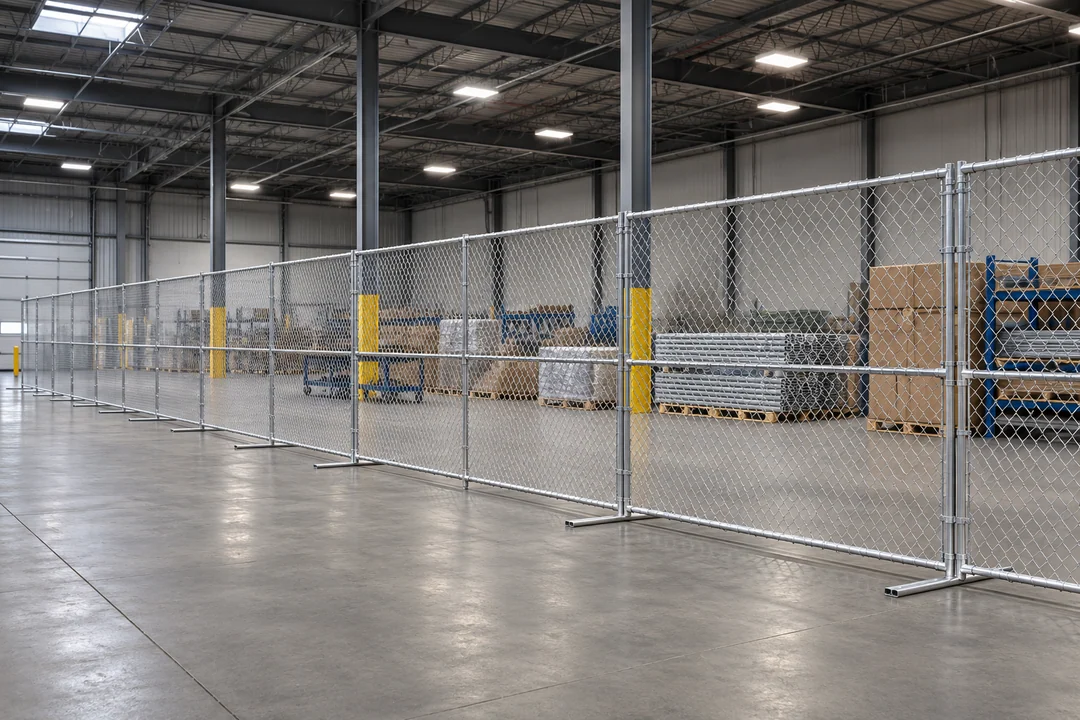
The frame and diamond fabric form one order unit
Relia lists galvanized carbon steel framed panels with diamond openings from 40 to 80 mm and several wire options. Send your required outside dimensions and handling plan so we can discuss the panel, removable feet and connections as separate quote items. List the assembled hardware next to the framed fabric when comparing candidate panel offers.
See the 6 ft framed diamond-mesh panelThe catalogue includes a 6 ft American-style diamond-mesh panel. Confirm the overall frame height and width, fabric opening, and whether the quoted line includes the removable feet and connectors.
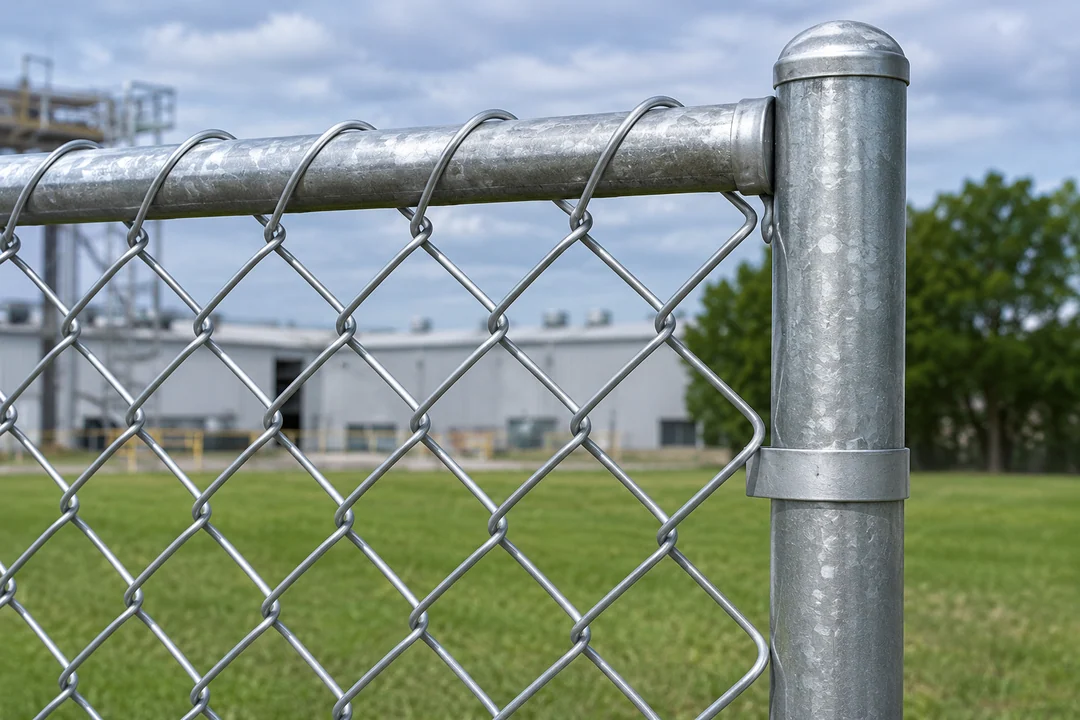
- A transportable boundary
- Quote the framed diamond-mesh panel with the removable feet and connector type for that model.
- A run that changes regularly
- Check the moving route, handling dimensions and stored footprint with a representative panel.
- Before stocking spares
- Keep the framed panel, support and connecting hardware separately identified.
One bay through a relocation
Draw a standing bay, the part you remove first and the adjoining bay you need to leave in service. This views the fence the way a site crew actually uses it.
Plan how the boundary will move- Standing bayRecord the span, support centres and connector locations while the fence is assembled.
- Release pointMark the removable part and the support the remaining bay keeps when the section moves.
- Next work areaShow the gate opening, end return and delivery position on the planned layout.
- Hardware packAssign one counted set of loose fittings to the panels for each relocation phase.
The standing bay and the moving part
One panel schedule supports both installation and rehandling. Use the assembled foot projection and the real travel dimensions when you plan the available clearance. Record the support orientation on the view of each bay that will be repositioned.
| Check point | On the installation plan | On the moving and storage plan |
|---|---|---|
| Frame | Separate clear opening from outside frame width | Verify single-panel weight and the narrowest route point |
| Diamond fabric | Choose aperture, wire and finish | Keep replacement fabric and frame type identified |
| Support and connections | Show floor footprint at every gate and end | Record the permitted fixing, loose feet and the rack method |
| Phase handoff | Mark each segment that opens or moves | Keep the panels and spares for that segment on one schedule |
Move the boundary around the work zone
If one aisle stays in use, draw its clear path next to the temporary run. Then mark the run that moves at each phase. A drawing with the gates and ends shown helps us review the fitting list. Give a phase name to each run on the plan so shipment and installation order match.
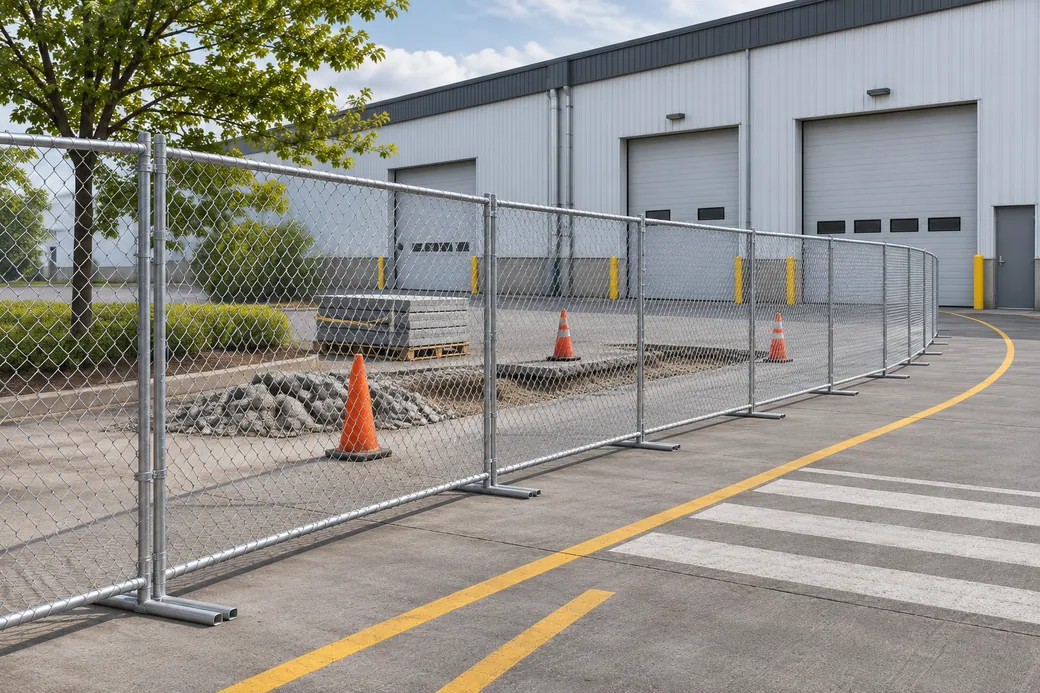
Handling details before delivery
Tell us how the panels will travel through the warehouse. The carrying route helps you compare candidate sizes and packing. Show the handling access and unload position for the largest assembled pack.
Check the assembled and packed dimensions. The American diamond-mesh panel lists an 8 × 6 ft frame. Request a view labelling its span and height, then specify the packed width and any projecting fittings. Check those dimensions against the worksite gate and the planned unloading route.
- Floor routeIdentify door widths and the temporary staging space.
- Panel handlingConfirm packed and individual weights with the selected model.
- Foot storageKeep loose feet and connectors in identified storage.
Packs that can be moved in phases
Decide where the packs will wait and which group is opened first. Ask for pack dimensions and the way the feet are supplied so the receiving team can plan space and restocking. Ask for an accessory count on the bundle label when the order is split across phases.
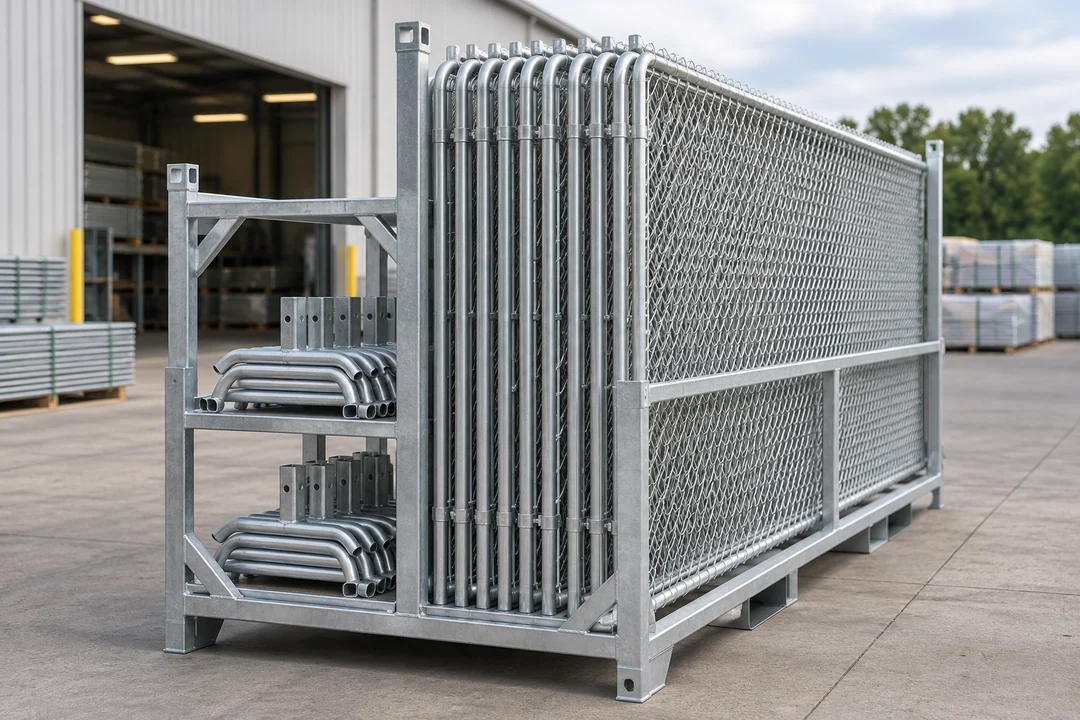
From existing site to next layout
A simple transition note lets you identify the parts that travel with the panels. Map the retained gate and adjoining supports on both the current and proposed plan.
- Existing phaseVerify end conditions and connectors.
- Next phaseName the new run lengths and opening positions.
- RecheckConfirm the same feet and clamps fit the revised plan.
Diamond fabric, frame and removable supports
The mesh geometry and framed shape are made in separate steps. Match the actual edge attachment to your repair and handling plan, especially when the supporting feet travel separately. The first fitted assembly gives the buyer a reference for fabric tension, frame squareness and connector fit.
- Material and dimensionsDefine fabric and frame independently
Choose the diamond opening, wire and outside frame size. Keep the exact foot and connector types on the same line.
- Fabrication and fitCheck mesh edge attachment on a joined frame
A frame drawing can show how the fabric meets the edge. That detail determines what to inspect when the panel is moved or repaired.
- Inspection evidenceTry a standing pair and a nested pack
Measure connected bay width, loose-foot projection and the transport envelope separately. Use the same chosen parts for both checks.
Detailed checks for this order
- Weave and finish the fabric edgeChain-link wire is formed into interlocking helices. Agree the diamond opening, wire diameter, finished height and end treatment for the fabric that will go in the frame.
- Join the frame and attach infillFrame sections are cut and assembled to a drawing. Record the finished outer dimensions, diagonal check and fabric attachment detail so the next panel can be matched to the same hardware.
- Verify standing and stacked fitSeat one finished panel in the chosen feet and join it to a second panel. Record the foot projection, joined width and pack dimensions. Keep removable supports identified by pack.
The framed diamond-mesh catalogue reference
One description gives an 8 × 6 ft nominal panel and a broader custom-width field of 0.5–3.0 m. The drawing and sample fit establish the exact clearance and connection hardware for the quoted size. Pick the catalogue frame using the measured assembled bay and the fittings you will actually order.
American 6 ft framed chain-link panel
- Listed choices
- Galvanized carbon steel, 40–80 mm listed diamond options and 1.8–5.0 mm wire range
- Confirm on the offer
- Selected diamond and wire, real frame width, welded or attached fabric detail, foot and connector inclusions
Components ordered with the frame
- Listed choices
- The listed description defines the panel family
- Confirm on the offer
- Get the assembled dimensions and identify connector, foot and fastener lines separately
Browse related products · Temporary Fence Panels
Related orders for mobile and permanent boundaries
The Australian-style guide covers a different temporary kit. The phased procurement guide helps when handover includes a fixed perimeter. Route a permanent perimeter or a different temporary format to the matching purchase guide.
- If panels and barriers travel togetherCrowd Barrier Storage Racks and StillagesCheck packed dimensions and the rack handling interface against the equipment already on site.
- If another run uses loose chain-link fabricWholesale Chain-Link Rolls and Replacement FabricCompare the wire and roll specification for that separate order.
Submit a phase-by-phase panel schedule
Send a plan of the bays you will move, gate widths, the soil or pavement surface, and the quantity to stage in each phase.
- Plans
- Existing and next layout
- Interfaces
- Frame, foot and connector
- Receiving
- Staging, pack counts and spare parts
Shuyuan Road, Qingdao, Shandong, China
- [email protected]
- +1 404 203 0971
- Phone
- +86 18561762631