Welded Gabion Mesh Sizes for Landscape Walls
Choose a visible welded gabion face using the approved wall layout and a representative stone sample. The square and rectangular catalogue openings give a starting comparison. Trial the proposed orientation, stone fill and joining system in a small assembled face, then check the exact basket and support details for the project.
- Visual sample
- Selected stone across a representative part of the face
- Quote line
- Outer box size, mesh orientation, joiner and finish by position
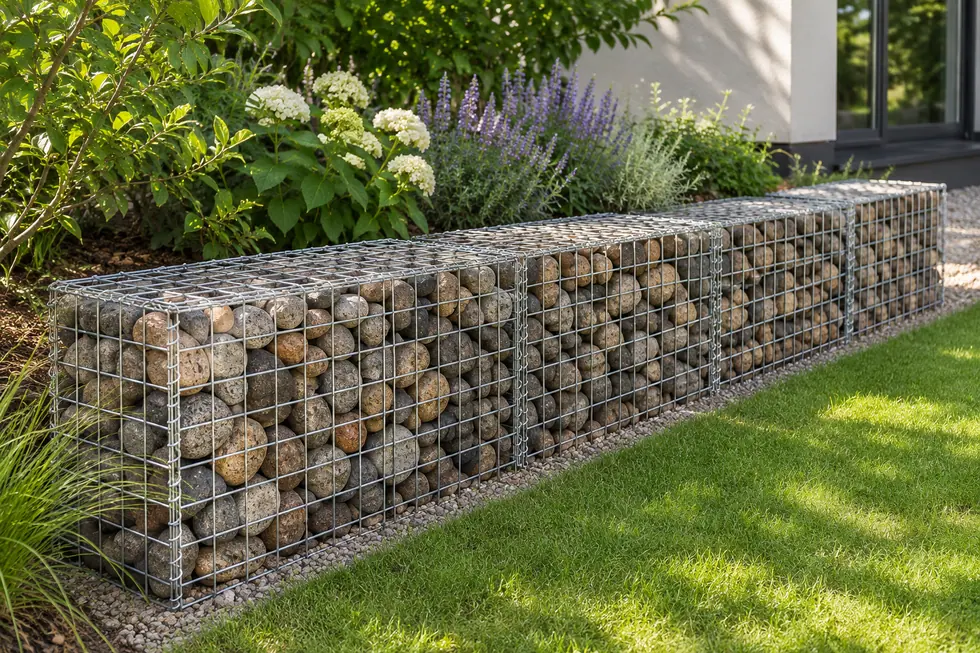
Square mesh gives you a consistent face pattern
Relia lists both welded box openings. If you send your stone range and visible face sketch, we can compare which basket sizes and mesh orientations are listed and identify the joining parts to include in a sample. Take a straight-on photo of a filled square grid using a representative stone sample.
See the 100 × 50 mm welded gabion specificationA 50 × 50 mm catalogue example gives you a square grid to compare with the selected stone. Look at the installed orientation and how the fill presents across the visible face.
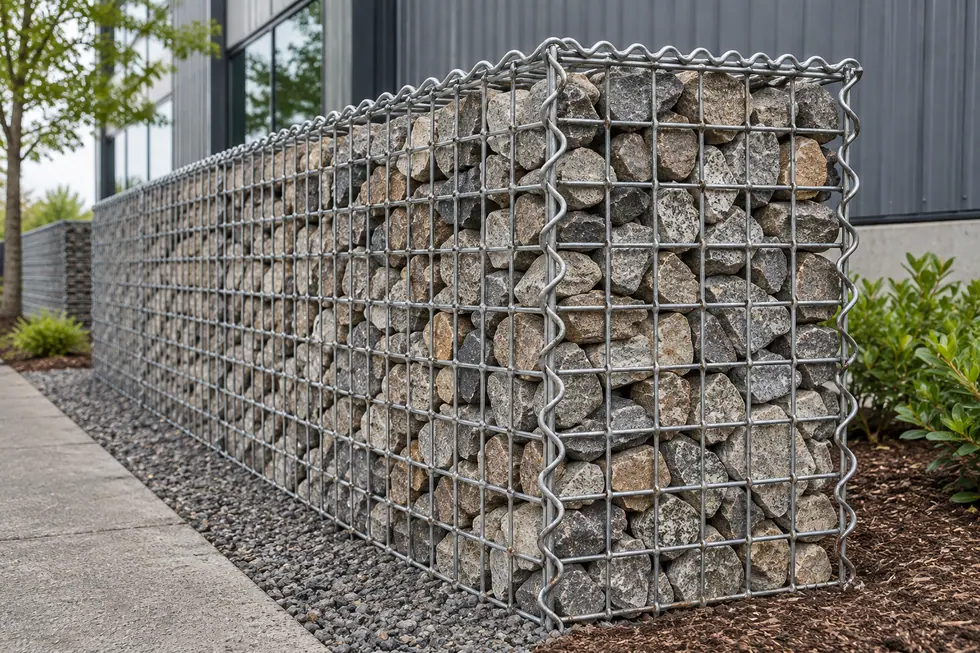
- Square opening
- Trial a representative stone against the 50 × 50 mm mesh with the selected wire diameter.
- Rectangular opening
- Mark the 100 × 50 mm opening orientation on the visible face drawing.
- Sample before scale-up
- Keep the same stone range and inspect face gaps and edge loss on an assembled basket.
Compare two trial faces with the same stone
Hold the stone source and sample setup constant while comparing the mesh openings. A short trial makes the effect of aperture orientation and the placement of joining parts visible to the buyer.
Set up a small filled sample- Trial ARecord the square aperture, selected stone range and how the visible face fills.
- Trial BRecord the rectangular aperture, its orientation and where stone edges are visible.
- Edge and jointShow how panels join at corners or adjacent sections with the same selected finish.
One stone sample for both trial faces
Use the same representative stone in each comparison. Match the approved grading, the visible directions of the wires and the actual construction detail. Record the sample and the joining method together. Use the same stone and lighting when the two face samples are compared.
| Option | Compare on the sample | Record for purchase |
|---|---|---|
| 50 × 50 mm grid | Two clear opening dimensions after assembly | Visible face and chosen wire diameter |
| 100 × 50 mm grid | Long opening axis and stone contact at the face | Orientation shown on the drawing and retention with the specified grading |
| Basket and lid | Nominal box size versus actual dimensions and supports | Finished sizes, joins and quantities by piece |
| Coating | Check the mesh and every connector finish | Agreed surface and any required evidence for the installation |
Rectangular mesh has a visible direction
The 100 × 50 mm listing includes 2.0–6.0 mm wire options. Tell us which way the opening should run on the face and which box faces remain visible. Record separate values for the mesh, wire and outside dimensions. Mark the long axis of the rectangular opening on the facing drawing before approval.
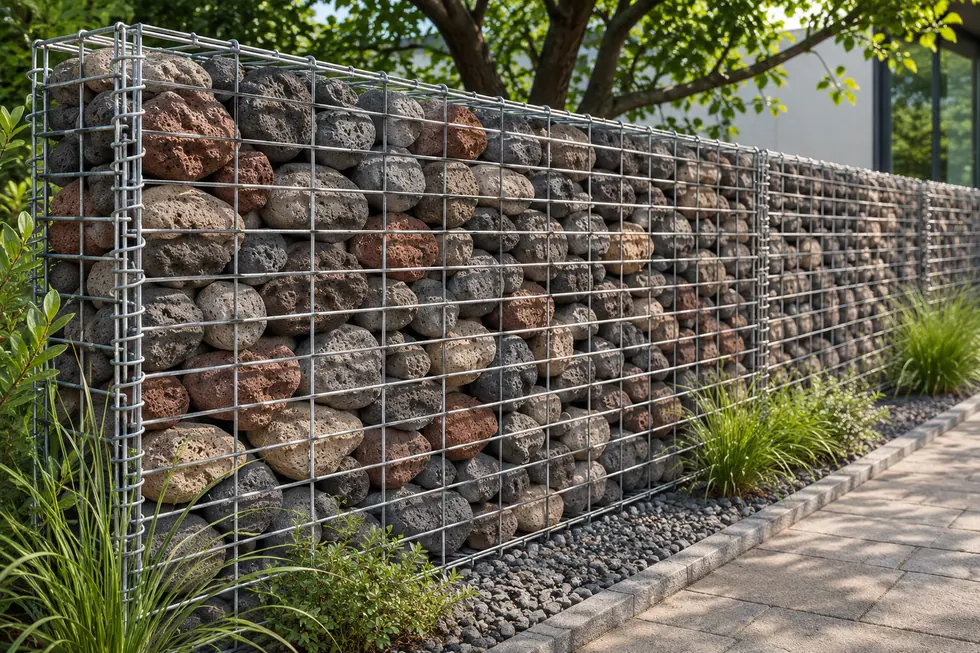
Keep the box and its joining parts visible in the quote
A face aperture is one part of the order. Include everything required for each finished assembly. Count joins, ties and dividers independently from the outer box dimensions.
- BasketLength, width, height and finish.
- FacesVisible orientation, lid and edge condition.
- PartsJoining hardware and accessories by size.
A small filled sample helps check the face
Set aside a representative fill sample. The same stone in two mesh options makes it easier to evaluate the appearance, mesh fit and joining details your team can accept. Include a corner and lid closure in the filled sample where the wall has visible ends.
Compare faces with one stone and camera position. A 50 × 50 mm square grid and a 100 × 50 mm rectangular grid give two catalogue candidates. Record the selected grid direction and chosen stone in the trial. Take the comparison photos from the same distance and include the corner join and closure.
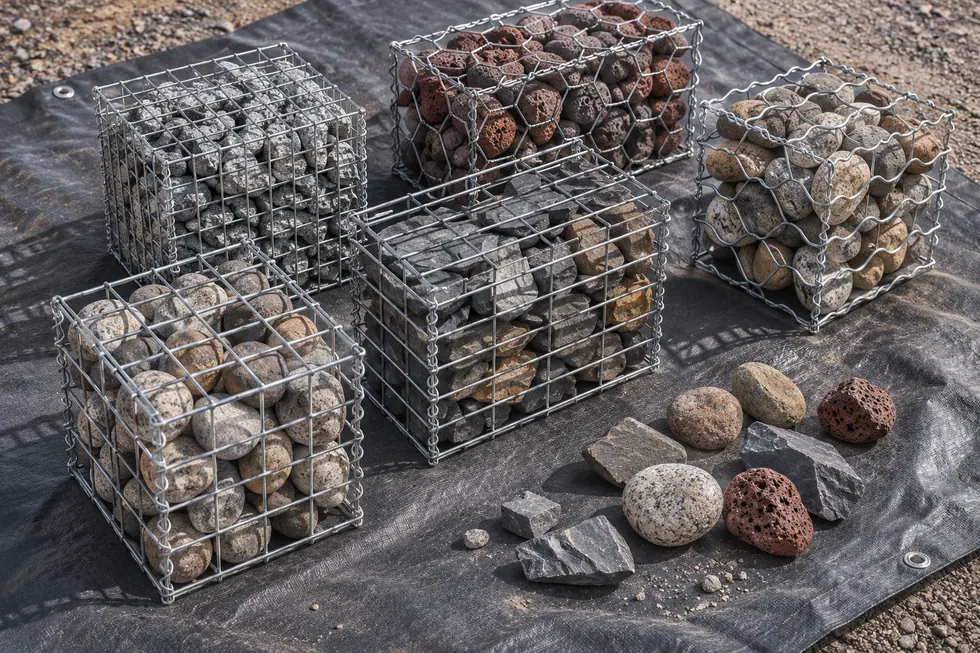
Welded panel geometry and first-fill inspection
Mesh dimensions determine the openings on the visible face. When the opening is rectangular, the panel can look and retain the stone differently when rotated. Check panel geometry and the chosen joining fit before repeating the order.
- Material and dimensionsKeep the same stone range for both openings
Trial 50 × 50 mm and 100 × 50 mm mesh with the chosen wire. Mark the long axis of the rectangular opening on the face drawing.
- Fabrication and fitAssemble the sample with its real joints
Include the lid and any divider, using the fastener intended for the quoted box. Check corners as well as the flat face.
- Inspection evidenceJudge the filled face and edges together
Record visible gaps and where smaller stone can escape. Use that sample geometry on repeat purchase lines.
Detailed checks for this order
- Prepare the comparison panelsAgree a wire size and finish and use the same stone batch for the square and rectangular grid. Mark the longer axis of the rectangular mesh on the face drawing.
- Form and connect the sample boxJoin the cut-to-size faces with the specified spirals, clips or other connectors. Check that the bottom, lid and any divider correspond to that box revision.
- Look at the finished face before scaling upInspect for loss of small stone and visible gaps at the edges. Record the selected orientation, wire, opening and joining parts for later repeat orders.
TWI guidance on resistance welding · ASTM welded wire gabion specification
The catalogue openings and basket sizes
The rectangular entry lists several grid options and a 1–5 m length field. Give the intended cut or box dimensions with their axis names and verify which mesh and wire go together. Use the project specification when requesting the matching coated joining parts. Compare the catalogue options with the stone and facing sample used in the quote.
50 × 50 mm welded basket example
- Published dimensions
- 50 × 50 mm example, hot-dip galvanized or PVC wording and multiple nominal box formats
- Confirm before order
- Actual finished face aperture and selected stack of rectangular pieces
100 × 50 mm welded basket example
- Published dimensions
- 100 × 50 mm example, 2.0–6.0 mm wire range and 1 × 0.5 × 1, 1 × 1 × 1 or 2 × 1 × 1 m nominal formats
- Confirm before order
- Orientation, actual diameter, finish and joining parts for the ordered size
ASTM welded wire gabion specification
Browse related products · Gabion Baskets & Barriers
Use the project-specific gabion route
For a riverbank job, start from the approved civil scheme and compare welded and woven boxes against its schedule. For river or drainage requirements, bring the relevant project detail into the matching gabion guide.
- For the riverbank part of a projectWelded and Woven Gabion Baskets for Riverbank ProjectsUse the engineer's basket schedule and confirm the specified weave.
- When ordering landscape and civil parts togetherSteel Products for Landscape and Civil ProjectsUse an independent acceptance list for boxes, steel grating and drains.
Send the stone range and wall drawing
Send the wall drawings, face orientation and stone sample details. Mark box dimensions, quantity, finish and the joining parts you want quoted.
- Stone
- Specified size range and sample
- Basket
- Aperture, orientation and dimensions
- Parts
- Lids, connectors and quantities
Shuyuan Road, Qingdao, Shandong, China
- [email protected]
- +1 404 203 0971
- Phone
- +86 18561762631