Base-Plated and Embedded Posts for Permanent Fences
Select base-plated or embedded fence posts using the approved substrate and load requirements for each run. A plate needs the plate footprint, hole pattern and adjoining clearance. An embedded post needs the agreed setting detail. Relia can review round and square post configurations when these mounting details are included.
- Mounting input
- Surface or footing type and location on each run
- Evidence before purchase
- Plate and bolt layout or embedment drawing approved for that location
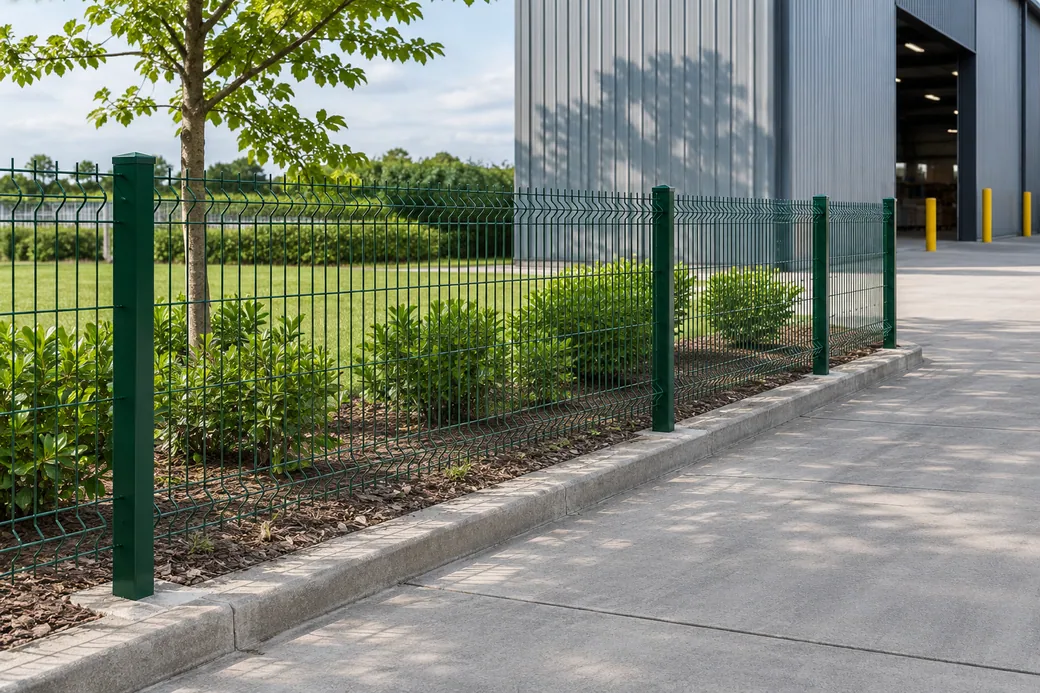
Anchor plate details on the drawing
Relia lists round and square post options for welded mesh. Some T and Y post records also mention anchor plates, which can refer to different parts. Show us your slab or ground section so we can review the post body and mounting detail separately. Put the plate footprint and hole positions on the same drawing as the nearby edge or obstruction.
See the round and square post options for welded meshSome catalogue posts offer an anchor plate option. Ask for the detail that shows where the plate sits, its geometry and what it does. Compare that detail with your approved base or embedded arrangement.
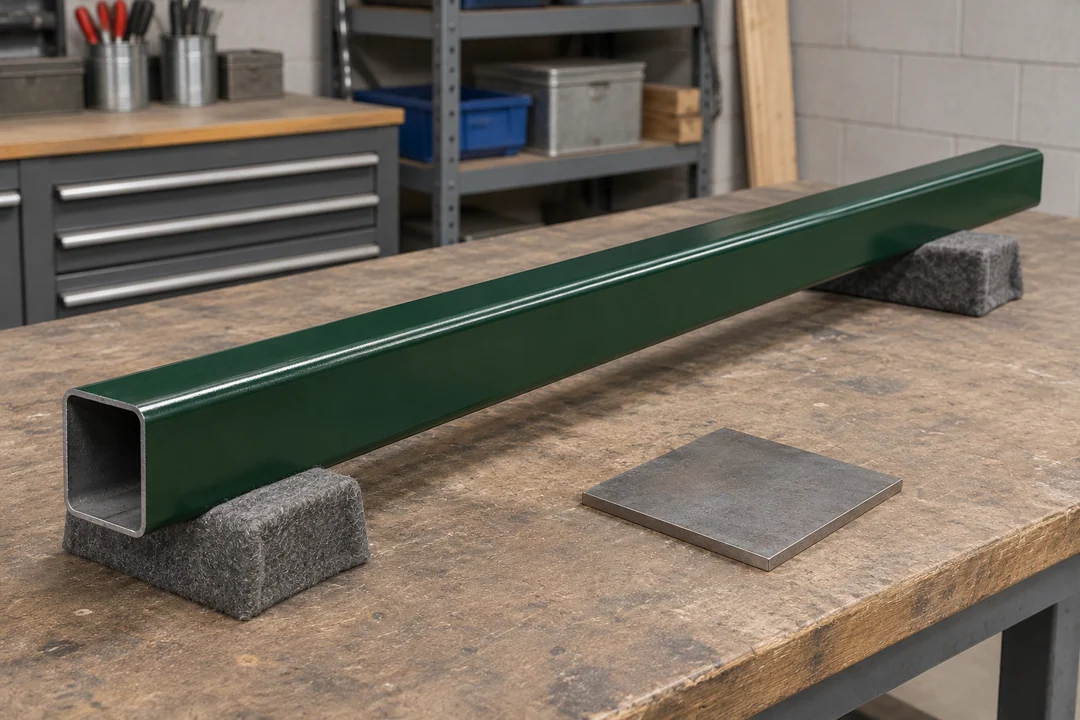
- Concrete with approved anchors
- Use a dimensioned base plate, including its hole centres and post-to-plate joint.
- Designed footing
- State the embedment, above-ground height and finish extent on the post drawing.
- Where the two mounts meet
- Keep panel height and clamp level on a shared finished-surface reference.
Two mount details for one line schedule
Show the concrete installation and the embedded location on distinct views. Repeat the relevant layout reference beside each order quantity so receiving can sort the post types.
Match the post schedule to the surface- Plate locationMark the plate footprint, centres of the holes, concrete reference and access for installation.
- Embedded locationShow the required setting detail and the finished ground level on the marked drawing.
- Line, end and cornerSpecify how the different post roles change the mounting design and hardware counts.
The post schedule around a concrete apron
Use the finished surface as the height datum. Keep total post length, exposed height and panel edge on the same section. Provide the project-approved slab or footing detail to establish the mounting dimensions. Mark each surface change against a run or bay identifier in the takeoff.
Identify which posts actually need plates. The T post listing and Y post listing include anchor-plate options. Record whether a plate is included on the exact quote line. On a prepared surface, use the project-approved plate footprint and bolt centres to check the edge clearance and fitting access.
| Dimension | Base-plated line | Embedded line |
|---|---|---|
| Above the surface | Finished height, post top and first panel fixing position | Same finished height from the stated ground line |
| Below or at the surface | Plate orientation, outline and hole positions with specified fasteners | Embedded length and the approved foundation detail |
| Ordering the connection | Post section, wall and panel clamp by location | Same above-ground clamp interface and support schedule |
| Special bays | End, corner and gate support drawings and counts | End and corner support detail at each change of ground |
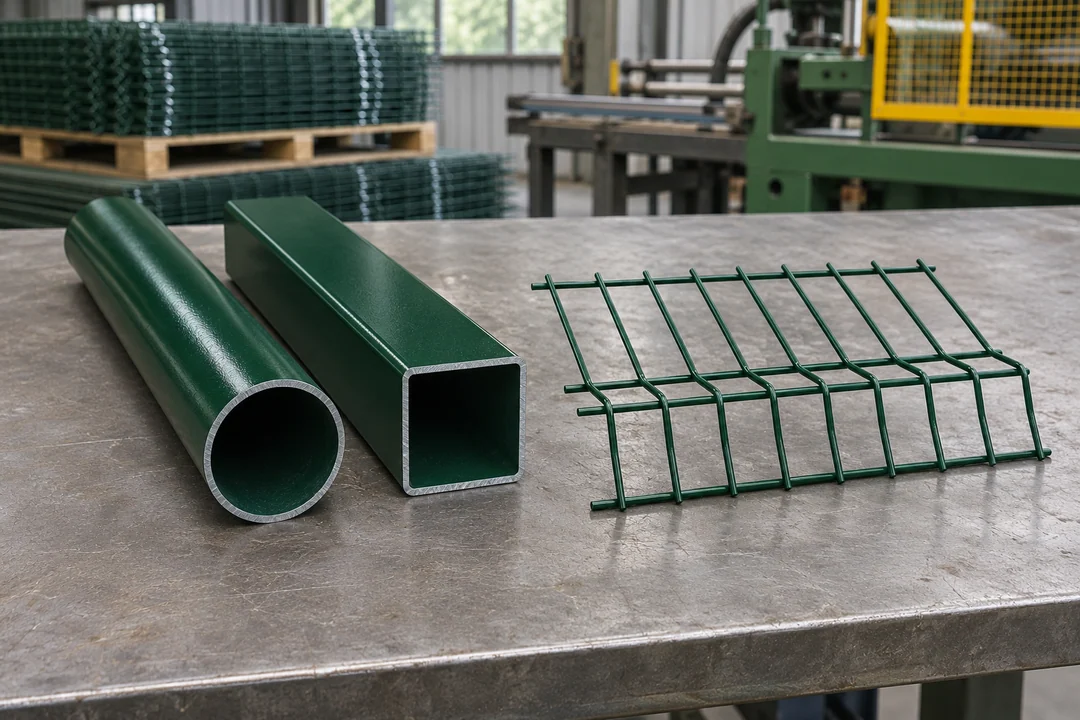
Round and square refer to the section
Our 3D mesh catalogue shows both round and square post options. Start with the compatible panel system, then confirm the outside section, thickness and fitting pattern from the proposed post drawing. Give section dimensions beside the shape so the clamp choice and fit can be reviewed.
Separate line, end and corner locations
A project can use more than one post condition along the same run. Keep mounts and quantities visible on the layout. List the post role and fastening arrangement before counting hardware.
- Line postRecord the typical connection and mounting.
- Corner and endGive the detached details and location.
- Apron edgeShow the approved surface and position.
One post schedule can describe several surfaces
Show where the fence passes hardstanding, landscaped ground or an existing footing. We can review the requested parts and mark which lines need the project team's approval of the interface. Put the approval reference beside the post and the run condition in the schedule.
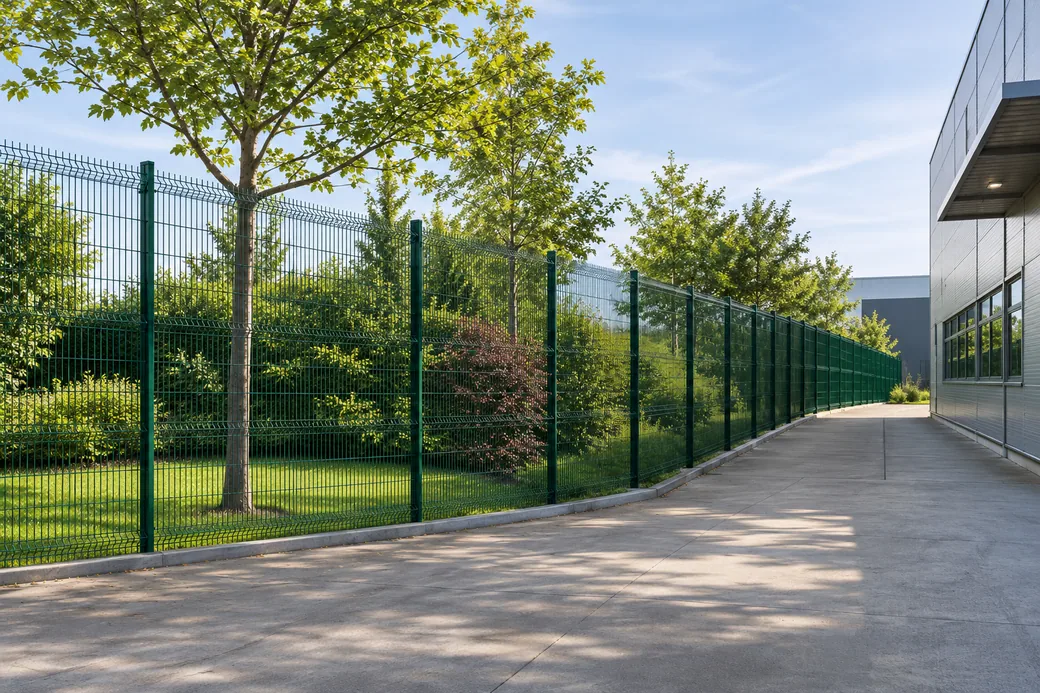
Post preparation for plates and embedment
The two mounting methods change the post drawing and finishing checks. Put the required mounting detail and finished height next to each item on the order. Define the plate or embedded detail at the step where the post data is agreed.
- Material and dimensionsSet post height from the finished surface
Use the approved section for concrete or ground at each location. Mark attachment holes from the same datum on both post types.
- Fabrication and fitPrepare either the plate or the embedded length
A plate line needs hole centres and joint details. An embedded line needs the below-grade length and coating extent.
- Inspection evidenceCheck the finished post against the location
For a base plate, compare holes with the approved anchor drawing. For embedment, check the level mark and panel fixing height.
Detailed checks for this order
- Set the body dimensions before cuttingAgree section, wall, attachment holes and total length. Show top-of-post height from the same finished-surface datum on both mounting drawings.
- Dimension the base-plate assemblyFor an approved plate detail, record plate size, hole centres and the post-to-plate connection. Verify squareness and hole alignment on the finished part before comparing it to the approved anchor layout.
- Identify the embedded length separatelyFor an embedded post, set the below-grade portion and orientation on the production drawing. Confirm the coating extent and mark the relevant level clearly on the receiving record.
Post options and the anchor-plate field
An optional anchor plate can describe a feature on a post profile. Verify the geometry and actual function. Use project-approved support details for the mounting and avoid assigning compatibility from the catalogue field alone. Confirm mounting parts with the actual selected option and project-approved drawings.
V-bend mesh with support options
- Details in the description
- Round, square, peach or rectangular post profiles are listed together with the mesh width options
- Confirm with drawing
- Exact section and clamp for your panel, then the specified mounting
- Details in the description
- 1.52–2.44 m lengths, 27–34 mm width and optional anchor-plate field
- Confirm with drawing
- Section drawing, function of plate and installation geometry
- Details in the description
- 0.9–3.0 m lengths, 20–45 mm width and optional anchor-plate field
- Confirm with drawing
- Selected shape, fit and above-ground or total-length datum
Browse related products · Fence Posts
Choose the mount or match an old post
A repair has its own measurements. For agricultural mesh or a dealer order of loose post sections, use the farm-post comparison. Use the replacement guide if the order must mate with an installed mesh or retained mounting.
Send the mounting sections and post locations
Send the substrate and setting details, post section, role counts and plate or embedment drawing. Include the approved project requirements for the specific locations.
- Mount
- Slab or ground detail
- Post
- Section, length and connection
- Order
- Numbers and approved locations
Shuyuan Road, Qingdao, Shandong, China
- [email protected]
- +1 404 203 0971
- Phone
- +86 18561762631