Replacement Steel Trench Grating for Car-Wash Drains
For a car-wash trench replacement, identify the retained seat along the full run. Measure the opening, seat width and recess depth at the start, middle and end, then fit one identified piece. Relia lists cut-length and finish options that can be quoted after the existing frame and wash-bay traffic are reviewed.
- Survey to send
- Three marked stations along the retained frame
- Trial before repeating
- One fitted piece with a record of seating, movement and removal
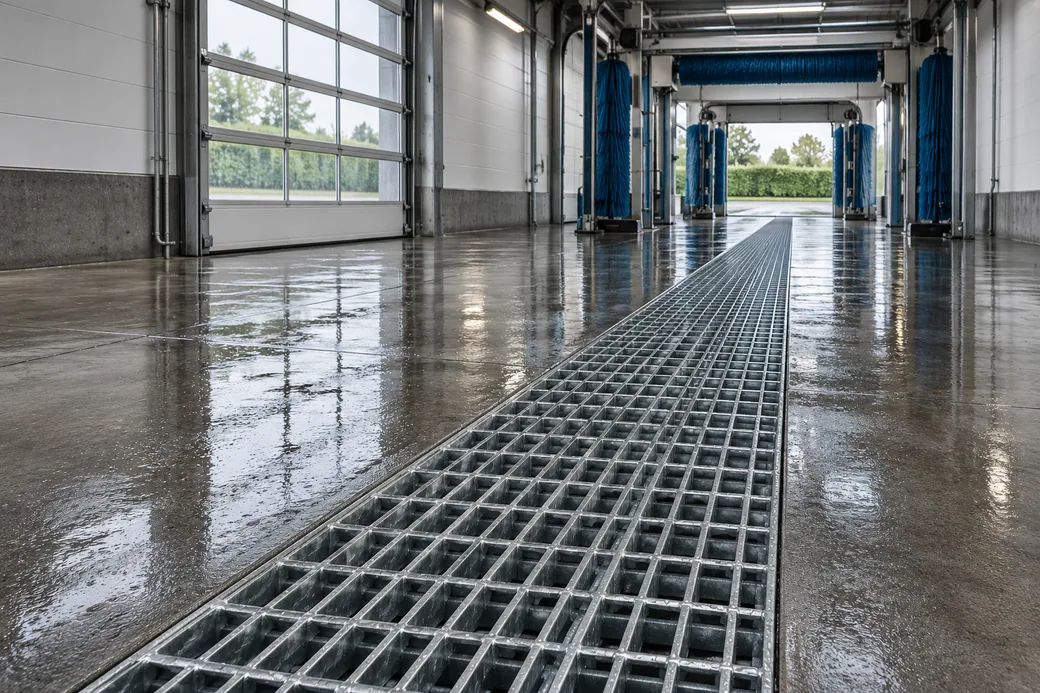
The retained seat matters along the full trench
Relia lists custom steel grating candidates for wash bays and garage trenches. A frame section and measurements from three places help us separate standard positions from parts that require individual widths, edge details or fixings. Check each seat for damage or variation along the run and flag any location that needs a separate piece.
See the custom car-wash trench grating listingMeasure the top and lower opening at each changed section. Record the depth and width of the bearing surface and include one photo showing the measurement location. Worn or uneven seats should get their own entry.
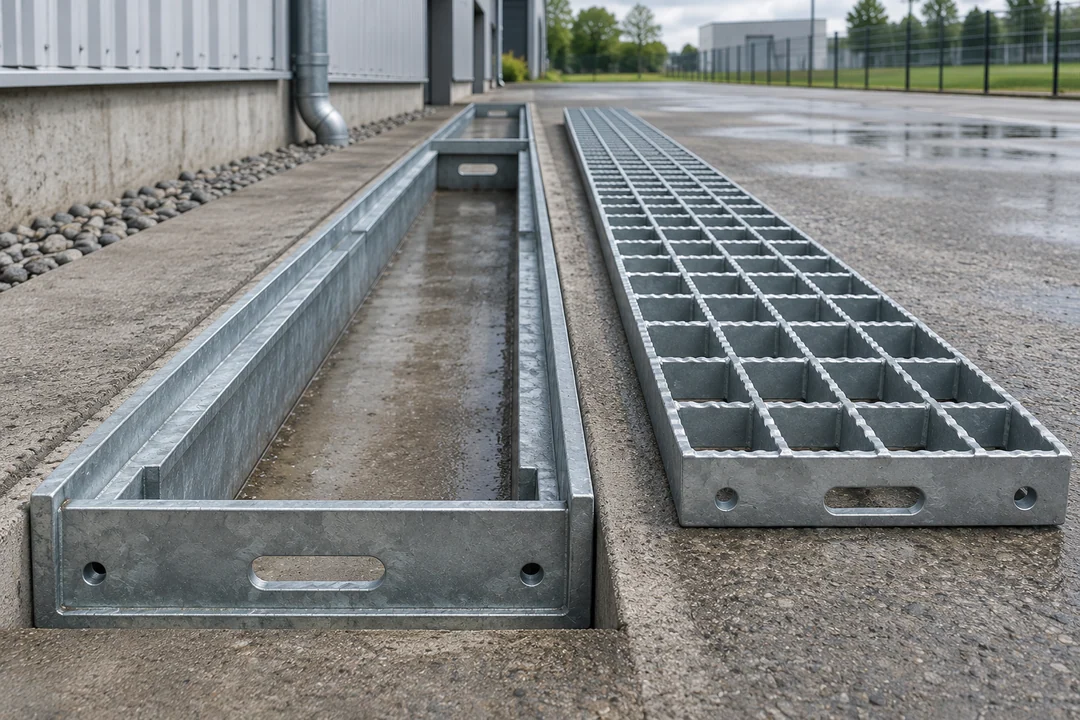
- Trench measurement
- Measure the start, middle and end from the same level and keep position names on the plan.
- First-piece fit
- Include recess, supporting ledge, fixing position and finished coating in the trial.
- Repeat pieces
- Order position-marked parts and spares after the approved sample has been seated.
Three measurement stations along the wash bay
Label the survey at the inlet, mid-run and end. Put a photo and the same set of readings at each station to reveal where new pieces need a separate fit.
Choose the first piece to fit- Start of the runRecord clear opening, seating width and recess depth at a named datum.
- Middle stationRepeat the same measurements and check at the joint where two pieces will meet.
- End of the runRecord the final recess and any taper or change in surface from the other stations.
- Trial pieceFit one numbered piece and photograph both seats and the removal clearance before repeating.
Measure the retained frame in three places
Measure the start, middle and end of each reusable frame run. Write down variations rather than averaging them out. A two-axis sketch, one side photo and the approved use give the drawing reviewer a reproducible fit check. Keep the direction of the measurements consistent as you compare the three stations.
| Retained frame point | Record | Confirm on the made-to-size piece |
|---|---|---|
| Opening | Top and lower clear width and length with the same datum | Actual outer size and permitted clearance |
| Bearing seats | Opposing support faces, seat width and recess below finish | Full seating, bar direction and level top after fitting |
| Fixing and access | Existing retaining detail, opening and removal positions | Compatible fastener and removable part with model/load evidence |
| Repeat orders | Keep piece IDs and long or irregular locations separate | One accepted trial piece and a versioned cut list |
Fit one piece before duplicating it
A trial piece can confirm it seats on the intended faces and sits in line with the adjacent covers. Keep the measurements with your sample photo, then use them to identify the positions that share that piece. Record a removable trial piece with the actual lifting or retention method used at the bay.
Use the narrowest measured seat in the trial brief. The car-wash trench grating listing offers a candidate for cut lengths and finish selection. Mark the trial piece by station and record the measured opening and both seats there. Check that the piece can be removed using the proposed access before releasing further cut lengths.
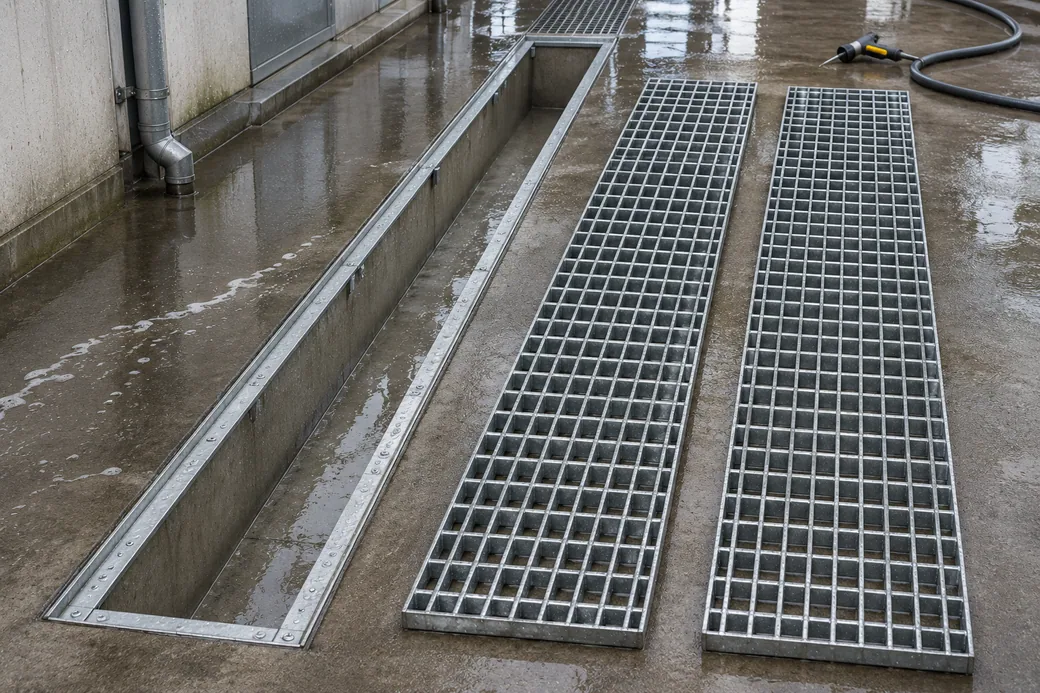
Washdown and traffic are order inputs
Describe normal washdown exposure and any traffic along or across the drain. Ask the review team to match the model evidence to those conditions. Record cleaning exposure and the approved vehicle or foot traffic input in the selected specification.
- ExposureWater, cleaning environment and finish.
- LoadApproved use and support conditions.
- AccessRemoval and fixing needs.
Order by identified pieces and spares
Make a short schedule of the repeated and irregular lengths. Numbering the positions helps you receive the correct sections and order a spare without measuring the entire drain again. Mark the location and spare reference on matching sections so they can be swapped correctly.
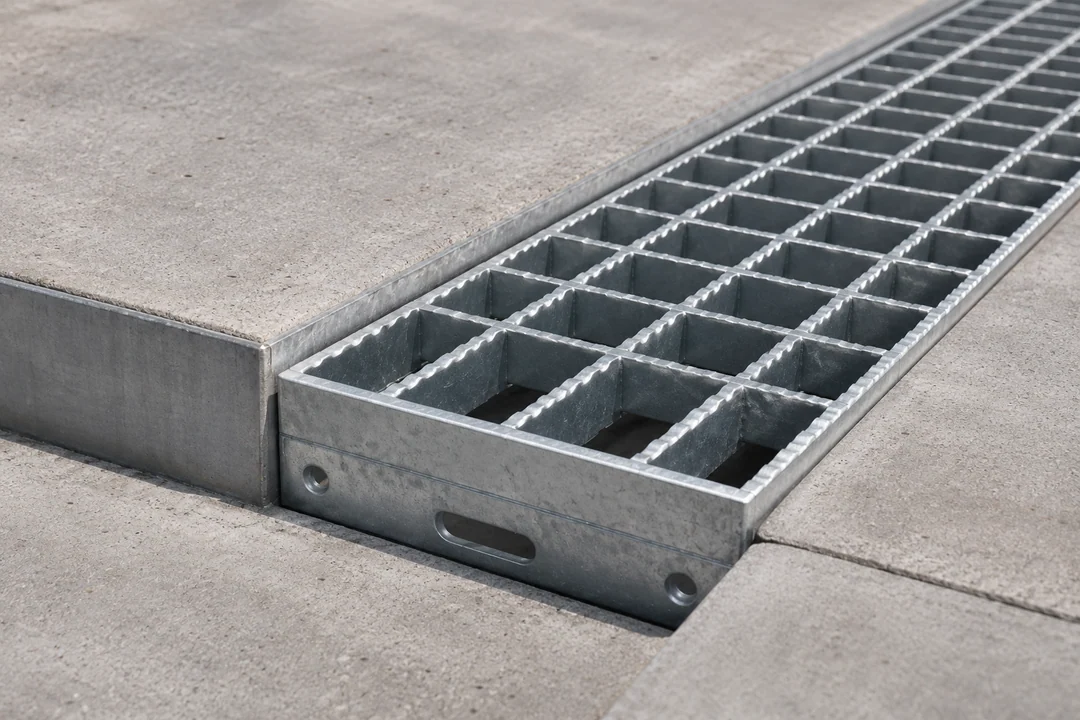
Cut lengths, finish and fit against the retained seat
An older frame can vary in depth or usable width along the same trench. Set each grate to the position it will occupy and agree how the team will remove it during cleaning. Check cut lengths and surface treatment against the actual measured seat and finish specified in the offer.
- Material and dimensionsMeasure the old seat at three places
Record start, middle and end from the same level. Mark the ledges, usable width and fixing points at each position.
- Fabrication and fitCheck one finished grate in the retained frame
Coating and edge banding can affect seating. Confirm the recess and removal access on the sample.
- Inspection evidenceTurn the accepted fit into a position list
Name the installed location on each repeated piece and separately identify spares. Keep any vehicle-rated locations with their approved load case.
Detailed checks for this order
- Measure each position against the same datumShow the top surface, recess and available bearing ledges. Carry those dimensions and positions onto the cut list.
- Form the marked edges and fixingsGive the required banding, fixing clearances and access for lifting. If a coating is specified, do the fit check on a finished sample.
- Use the sample to release repeat piecesTest seating and flushness along the marked positions. Give the accepted parts a label so receivers can distinguish each variation and its spare pieces.
Wash-bay and garage grating product details
A bearing bar pitch and a cross-bar size are independent dimensions. Use one model with the exact measured frame, finish, support and approved wash-bay use. For areas under vehicles, take the approved load case through the relevant review. Confirm the selected length, bar dimensions and finish on the actual order line.
Custom car-wash trench grating
- Options in the description
- 30/40/60/100 mm bearing pitch and 6/8/10 mm cross-bar sizes, galvanized or powder-coated wording among choices
- Confirm before order
- Finished outer size, bar section, seat fit, finish for cleaning exposure and any required load proof
- Options in the description
- 100 mm bearing pitch option, 24–200 mm cross pitch field and zinc/galvanized wording
- Confirm before order
- Car-wash frame drawing, bearing/contact dimensions and actual depth
NAAMM bar grating manuals and design data
Browse related products · Steel Grating
Related selection for vehicle crossings
The loading-yard guide focuses on the specified wheel load and support record. The industrial grating guide covers made-to-drawing bar panels and clips. Use the vehicle crossing guide when project loading evidence is needed for a loading route.
- Where vehicles cross the drainSteel Trench Drain Grating for Vehicle Traffic at Loading YardsConfirm the approved load and actual support for each crossing.
- If the wider project includes walkway grating or basketsSteel Products for Landscape and Civil ProjectsKeep those materials on separate drawing and acceptance lists.
Share the frame section and grate positions
Send the three station measurements, frame photos, piece quantities and intended traffic. Include the finish and washdown conditions for the bay.
- Frame
- Opening, support and fixing
- Conditions
- Traffic, washdown and access
- Schedule
- Lengths and pieces by bay
Shuyuan Road, Qingdao, Shandong, China
- [email protected]
- +1 404 203 0971
- Phone
- +86 18561762631