Replacement Canadian-Style Temporary Fence Panels
For a Canadian-style replacement panel, use a retained fence bay as the reference. The foot opening, leg outside dimension and connector-hole centres decide whether the new frame will mate. The two Relia listings support different starting points, so share the frame dimensions and hardware measurements before choosing a replacement.
- Retained parts
- Foot and connector from the fleet to be replenished
- Proof before bulk
- One assembled bay and a measured hole pattern from a shared datum
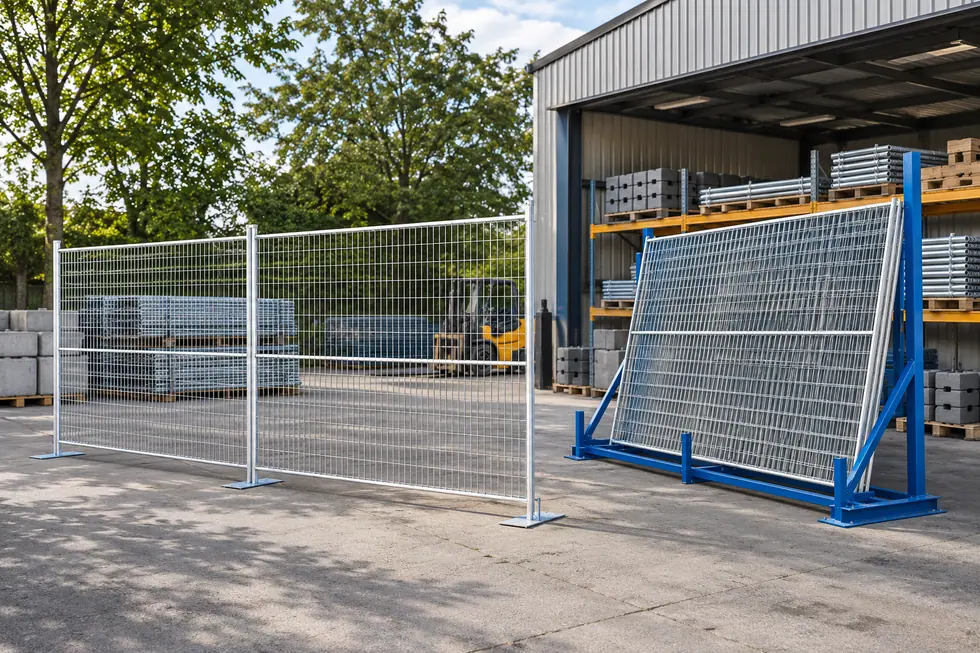
The foot opening sets the fit
Relia lists a stadium panel in several widths and a separate 2900 × 1900 mm candidate. A photo of your upright seated in its foot, plus dimensions from the lower frame edge, lets us review the closest candidate against the fittings you want to keep. Use a clean opening and a representative worn foot to show the range your fleet has to accept.
Compare the listed Canadian-style panel widthsMeasure the upright outside profile and the inside of the foot opening on the same sample. Record how far the post seats and whether a weld bead or paint buildup affects clearance.
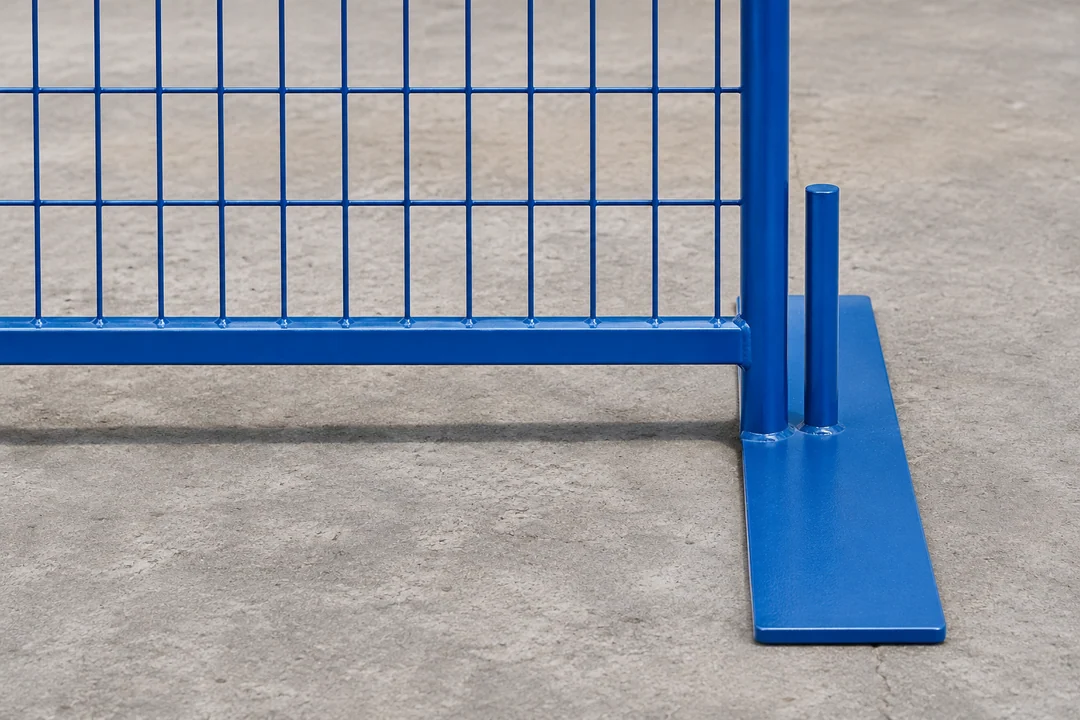
- Replacing one bay
- Photograph the old upright seated in its foot with the connector in position.
- Replenishing a fleet
- Match each frame type to an approved sample. Keep the nominal widths as separate stock lines.
- Before confirming fit
- Measure outside frame width, usable foot depth and connector height from the same edge.
A measured overlay for the retained frame
Mark the old and proposed panel on two views with the same bottom datum. Put the leg and hole readings on a simple overlay before trying a sample in the real foot.
Read the trial-fit checks- Old frameMeasure a sound reference panel and mark the surface from which each hole is located.
- New frameAsk for a dimensioned view with the same datum and a matched foot and connector.
- Trial resultRecord whether the leg seats fully and the connector can be installed in a standing bay.
A fit record for the old panel and the sample
Use the same lower edge as the datum on both parts. Compare the bare dimensions and effective fit at a paint buildup or weld bead. For perspective, 9.5 ft converts to 2895.6 mm. Treat 2900 mm as a separate nominal field until the drawing establishes the same measuring points. Photograph the two panel profiles side by side from the same view before comparing the reference points.
| Measure at one datum | Retained part to record | Replacement to verify |
|---|---|---|
| Upright to foot | True outside profile, base opening and usable depth | Seating depth, orientation and clearance |
| Panel width | Outside frame and installed centre distance in separate fields | Exact ordered width and adjoining gap |
| Connector | Hole centre, diameter, height above datum and connector thickness | Alignment on an assembled sample |
| Pool of spares | Keep each fleet profile and finish identified | Save an accepted drawing revision with the replenishment order |
Connector holes need one common reference point
Use the same bottom edge or other fixed datum for both panels. This makes a hole offset visible on the drawing and helps you avoid mixing two rental panel families with a similar frame shape. Give hole diameter and centre-to-centre spacing alongside distance from the same datum.
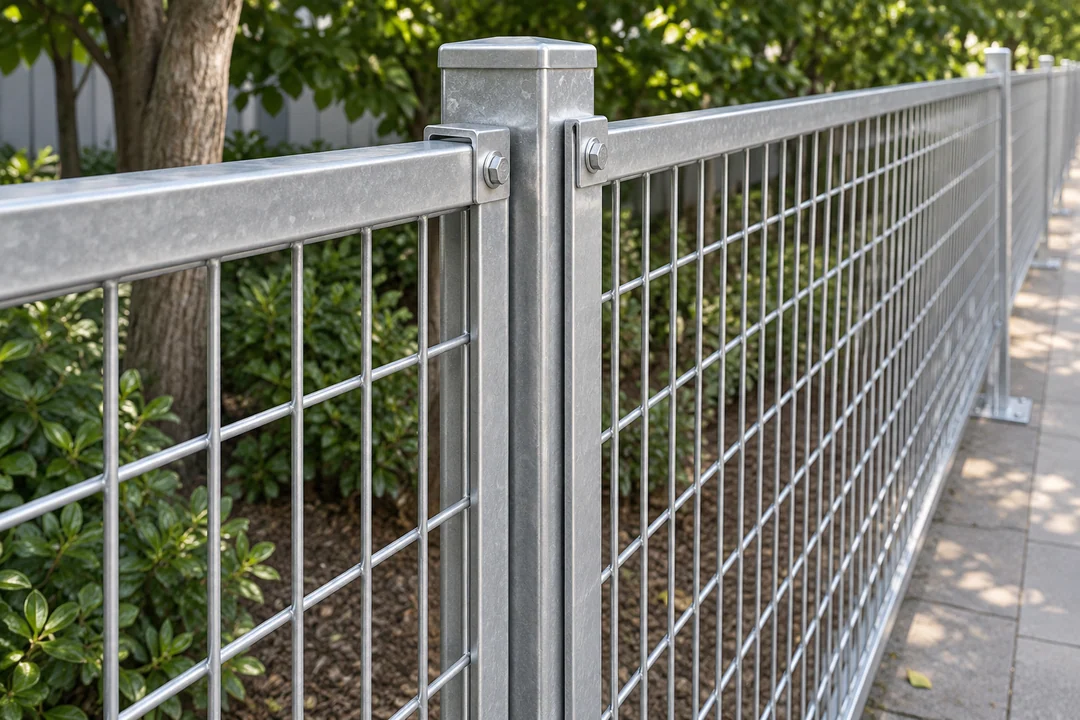
A trial fit makes replenishment repeatable
Choose one representative old set and keep the new sample identifiable. Include the retained clamp, the chosen foot and one adjoining panel in the trial.
Release the order against the retained assembly. Use the 1900 mm Canadian panel or the Canadian stadium panel with a 3.0 mm wire option as a catalogue reference in the trial record. Record the leg insertion depth and connector alignment in the actual retained foot. Keep that fitted result with the selected SKU for reorders.
- Check the sampleSeat it in the existing base and fit the connector.
- Record the fitKeep photos and the accepted drawing reference.
- Buy the batchUse that reference on the packing and reorder list.
Identify each fleet profile through storage and return
If your fleet has both coated and galvanized parts, label the frame or rack by the actual fit group. This helps the yard team keep replacement stock with the matching bases. Label the fleet profile on pallets and repair stock so compatible panels stay together after return.
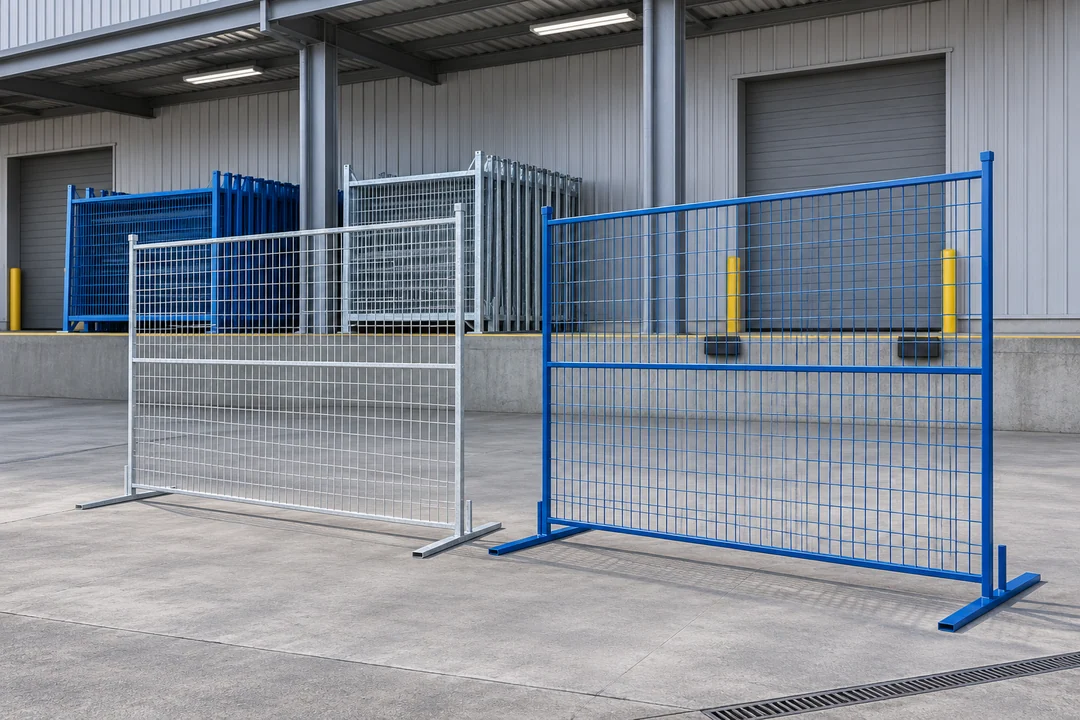
Frame production around the retained fittings
A replacement drawing needs a physical reference. Start with one straight, usable panel and its original foot and connector so the factory and installer can measure from the same points. Set the frame and fitting reference on the approved drawing before releasing the replacement batch.
- Material and dimensionsTake one known working panel as the reference
Record the outside frame and connector position against the same lower edge. Treat 9.5 ft and the separate 2900 mm listing as distinct references until measured.
- Fabrication and fitCheck diagonals after the frame is joined
Use the pair of dimensions to detect a frame that sits square on paper but leaves a tapered gap at an adjoining bay.
- Inspection evidenceMeasure the finished replacement in the old foot
Check seating and pin or clamp alignment after coating. Name the approved frame revision and its fittings on the repeat order.
Detailed checks for this order
- Capture the end geometryShow the upright outside profile, bottom end and hole centre above the lower frame edge. Measure the connector thickness and any internal shoulder in the retained socket.
- Check the frame after joiningOn a fabricated frame, check width, both diagonals and upright spacing after the infill is attached. Small differences at the ends can affect the adjoining bay even when the overall width looks right.
- Fit the finished partPaint or zinc at the seating end can reduce clearance. Use one finished panel with the retained bases and connector. Record seating depth, bolt alignment and the installed gap on the approved sample.
- Order spares against the sampleGive each accepted profile a revision on the quote and pack list. Keep other fleet profiles on their own lines so a warehouse picker can tell the compatible parts apart.
Two Canadian listings with separate fit decisions
The stadium listing names Canada in its title and uses an Australia style field. Treat that text as a data conflict. Base, clamp and frame measurements give you a purchase decision. Read each published figure against the detail drawing for the particular country-style listing you choose.
Stadium welded temporary panel
- Listed data
- 9, 9.5 and 10 ft widths, 3.0–4.5 mm listed wire choices, three 50 mm by 100, 150 or 200 mm opening options
- Confirm with the old set
- Frame height and measured connector pattern for the one quoted size
1900 mm temporary construction panel
- Listed data
- 2900 × 1900 mm nominal, 6 ft height field and PVC-coated surface field
- Confirm with the old set
- Height datum, coating buildup and fitted foot
Browse related products · Temporary Fence Panels
Related retrofit and handling guides
The replacement-post guide uses the same shared-datum method. The barrier rack guide helps with fit checks when the reusable item is the storage frame. Choose a compatible rack or American frame guide based on the actual parts you will reuse.
Send one representative panel and foot record
Share the old frame drawing or a measured photo, the foot opening, connector-hole centres and the quantity to replenish.
- Photos
- Front view and close joints
- Dimensions
- Post, foot and connector
- Batch
- Quantity by fit group
Shuyuan Road, Qingdao, Shandong, China
- [email protected]
- +1 404 203 0971
- Phone
- +86 18561762631