Fencing for Sports and Public Facilities
Divide sports and public facilities into field boundaries, public walking edges and temporary event zones before comparing fence offers. Relia lists twin-wire, roll-top and movable barrier candidates for different jobs. Mark access, ground clearances and specified wire or edge conditions by zone, so each area can have its own purchase and replacement plan.
- Facility zones
- Field boundary, public walkway and temporary crowd area
- Key fitted detail
- Clear opening and connection or edge profile at the actual location
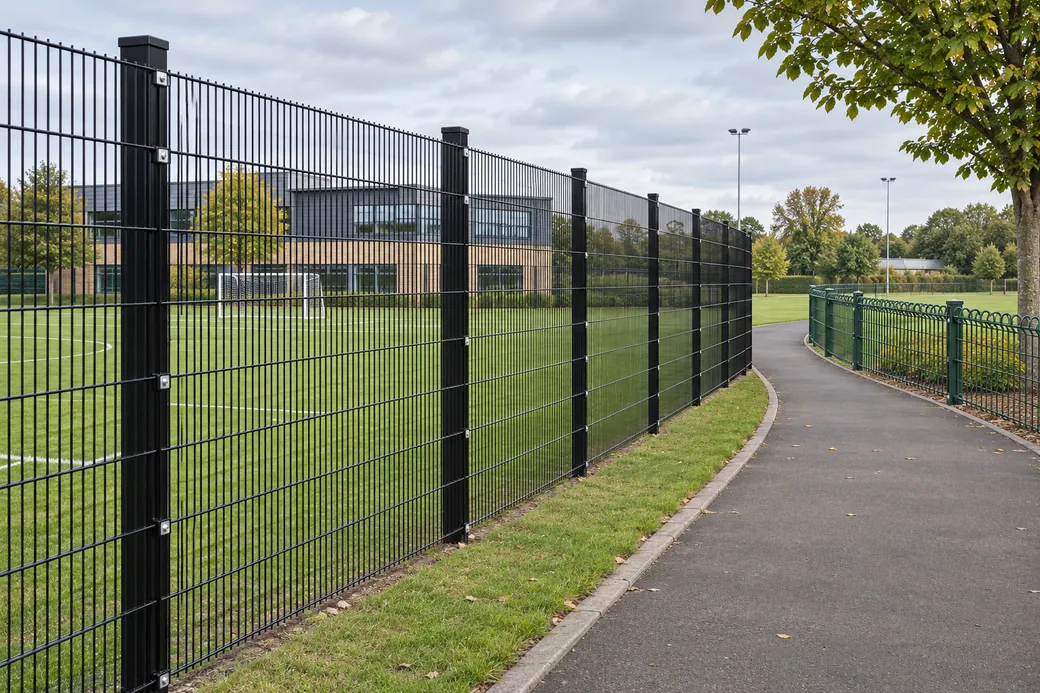
Three facility zones and their first purchase decisions
Use the same site drawing for fixed boundaries and event overlays. State the approved purpose and any applicable safety or access requirements for each zone. Relia can compare systems by zone when the schedule marks where the assembly will stand and how visitors use it.
| Zone | A useful product reference | Project input to confirm |
|---|---|---|
| Sports field perimeter | 656/868 twin-wire family lists 6/5/6 and 8/6/8 mm plus a 50 × 200 mm aperture example | Intended height, installed bays, end supports and gate use |
| Park walkway | BRC rolled-edge panel lists multiple heights and widths | Required upper return, visible lower edge and edge-to-path distance |
| Temporary queue | Effective joined width, bases, access and approved use |
- Playing areas
- Start with the required opening, wire and fixed boundary on the facility plan.
- Walkways and access
- Note visible edges, lower clearance and crossings around each public route.
- Temporary queues
- Use the actual joined barrier and venue review to set the route and fittings.
An access map for three facility zones
Think through where visitors walk, where a gate opens and where an event line must move. The map gives the venue and supplier separate dimensions for each part of the order.
Give each boundary its own drawing note- Field boundaryRecord mesh, wire sequence, installed height and gates used by operators.
- Public walkwayShow the shaped edge, path level and the clear space beside openings.
- Event areaMap the assembled barriers, crossing points and the route back to storage.
- Service overlapMark the shared openings and the adjacent panel or barrier parts used by the maintenance team.
Field boundaries need the specified wire and panel
The twin-wire 2.5 m reference width helps with a first takeoff. Mark actual posts and gates and confirm the selected aperture and wire sequence. Separate the true project use and approval from visual appearance. Define the chosen wire and panel geometry on the approved view of the field boundary.
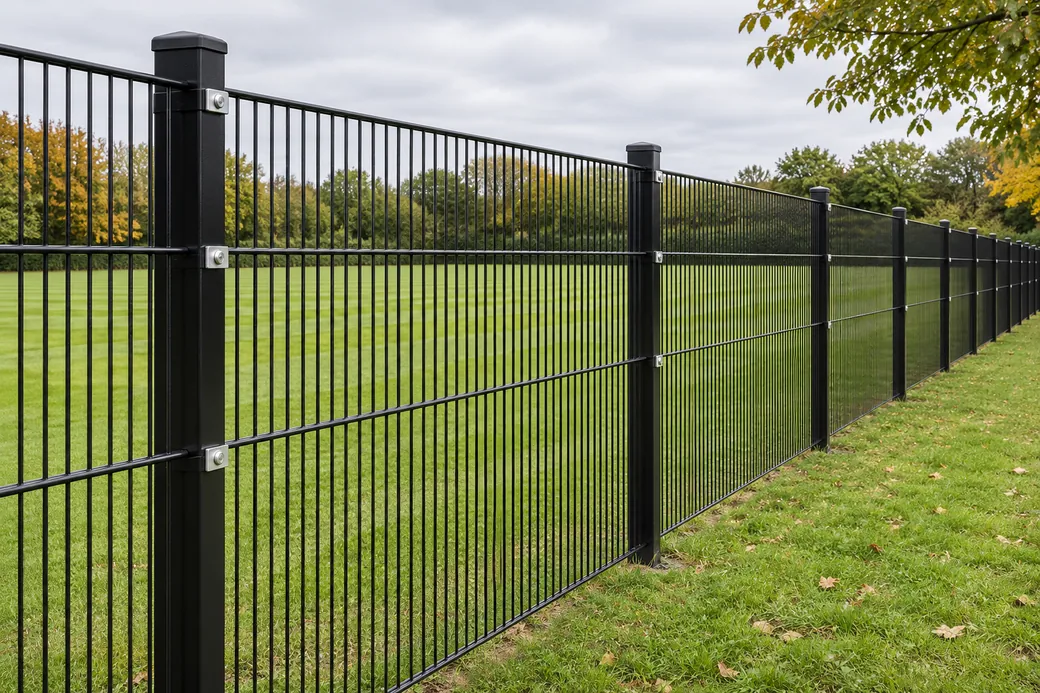
Write a different drawing note for each boundary
A sports fence, a path edge and a directional queue have different measuring points and requirements. Label a separate ground, edge or access note wherever the installed conditions change.
- FieldMap gate widths and locate each post type.
- WalkwayShow the finished ground level, lower clearance and rounded return.
- QueueAllow for the actual base footprint and retain the approved circulation route.
Visible rolled edges and the ground line
The park listing gives 900–2400 mm heights, 1000–3000 mm widths and several mesh options. Confirm which edge is rolled and where the panel sits on the path section. Measure finished height from the agreed path surface. Show the relation of the top and bottom rolled edges to the finished walking route.
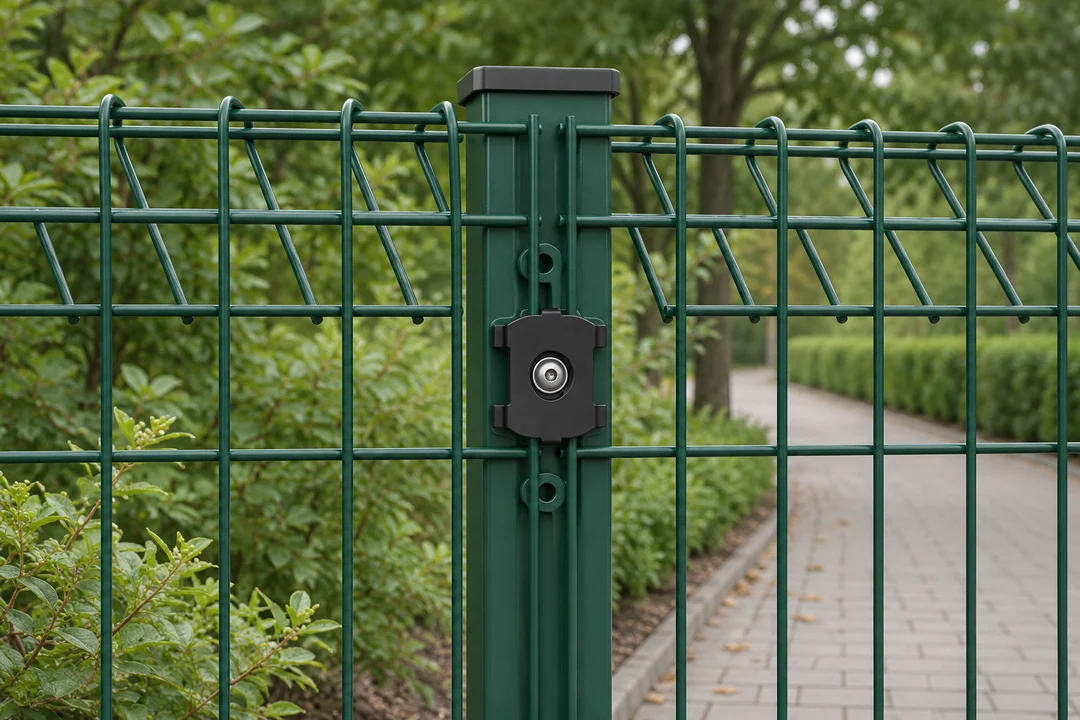
Keep access and replacement parts traceable
Give each opening a position and a part reference. Keep the chosen clamp with each model if you plan to stock spares. Keep the opening and spare-part references consistent with the actual installed assembly.
Match each spare line to the installed zone. Use the twin-wire panel guide for field-boundary assemblies and the roll-top walkway guide for the public edge. Record the installed wire and post detail with the spares for each zone. Keep the access width and connector type visible to the facility maintenance team.
- Start with these inputsMark sports boundaries, walkways and temporary queues
Use the planned route and clear openings. Give each group its own access requirement and assembly.
- Specify the orderInspect the part that controls each zone
Fixed twin-wire bays need the chosen clamp. Roll-top walkways need edge and clearance checks. Temporary barriers need their joined footprint.
- Verify before releaseReturn to the approved sample for spares
Record fitted connections, arrival stage and intended location. This makes future replacement an assembly match instead of a label match.
Detailed checks for this order
- Before supplyConfirm the approved gate/opening plan by zone.
- At receiptCheck the panel, footing and fitting details supplied.
- For a repairUse the drawing and part references for the affected zone.
Temporary barriers get their own venue review
Show the turns, doors and allowed route. Provide the intended barrier use and expected conditions to the venue team. Confirm the available assembly information for that specific configuration. Use the venue's event layout for temporary barriers and their intended circulation.
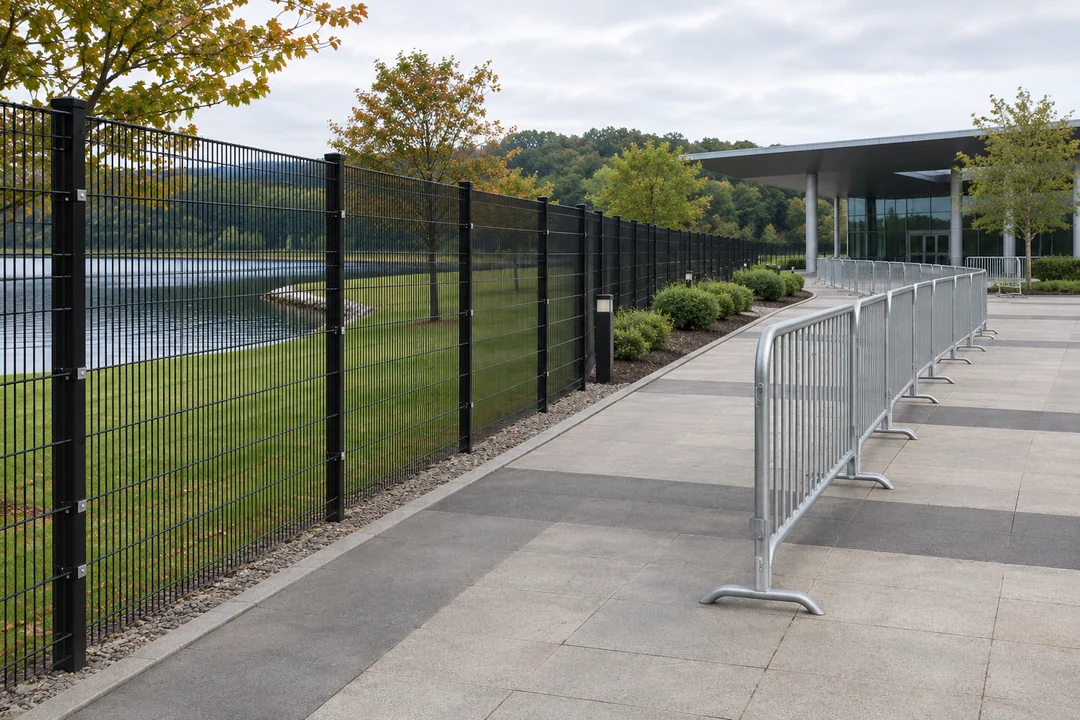
Detailed guides for each zone
Move from the site plan to the product-specific fields and approval references. Open the dedicated guide once the facility decision has been assigned to the right zone.
Share the facility plan and openings
Send the facility zone plan, access clearances, selected mesh and edge conditions, and quantities for each installed or temporary part.
- Zones
- Field, path and visitor routes
- Access
- Gate, step and terminal locations
- Order
- Parts and proof by location