T, U and Y Fence Posts for Farm Mesh
Choose a T, U or Y farm fence post by the mesh attachment, line role and ground conditions. Get the profile, length and finish confirmed in the offer, then trial a mesh offcut with its actual fastener. Relia lists examples of all three profiles, with configuration details to confirm for the selected order.
- Start with
- One mesh attachment and fastener sample for each proposed profile
- Bundle record
- Separate profile, length and finish so repeat stock can be identified
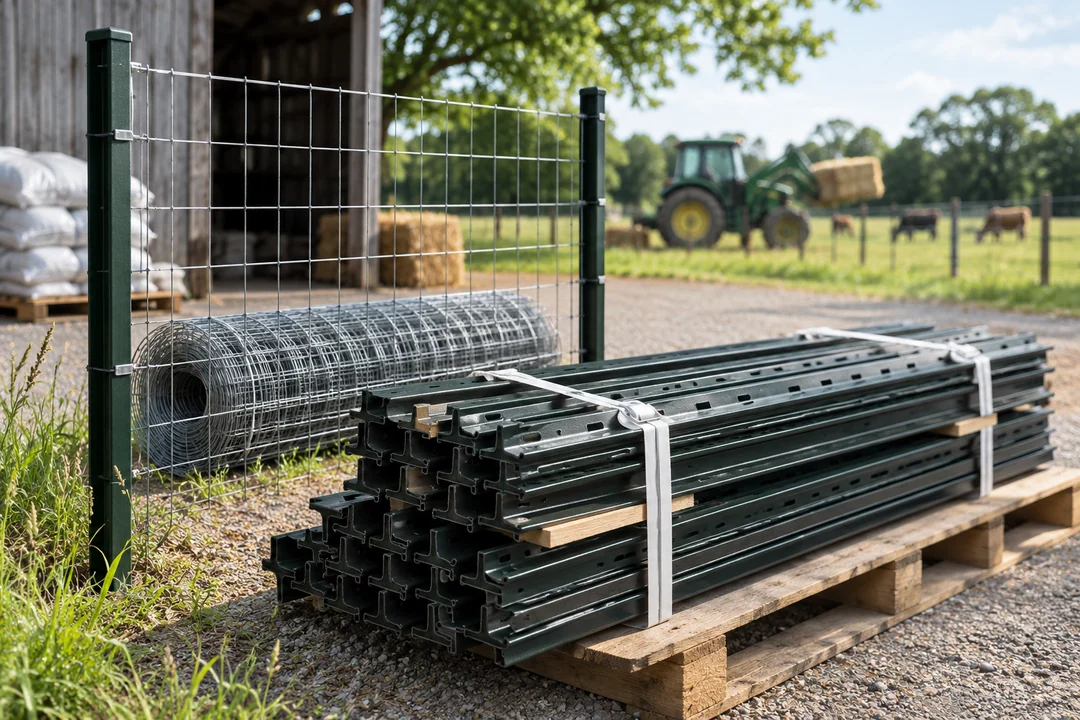
The mesh attachment leads the profile choice
Relia lists all three farm post profiles. Send a side view of the mesh connection and the cross-section you use. We can review the profile, fixing and length together so your new posts can be matched to the intended fasteners. Bring the actual fastener so the proposed post and mesh are tried as an assembly.
Compare the listed farm T-post lengthsA photo of the post end and the attachment point tells us how the current assembly works. Measure where the mesh contacts the post and where the fitting sits, with the post orientation shown.
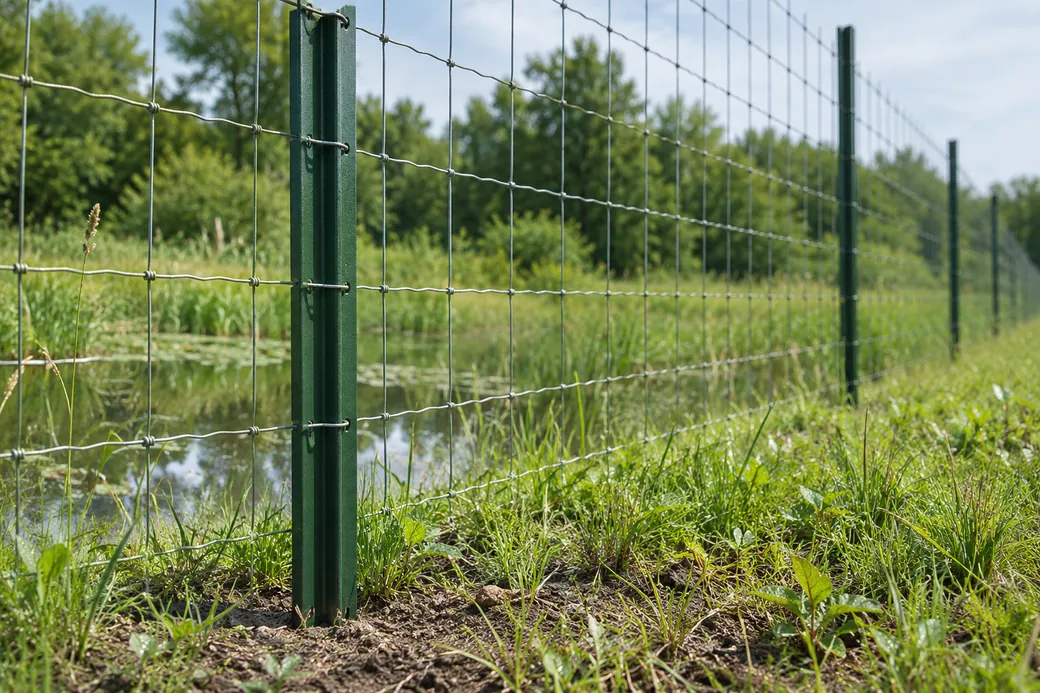
- T, U or Y profile
- Compare the actual cross-section in the orientation it will meet the mesh.
- Wire ties or clips
- Show the attachment face, hole pattern and fastening approach on the quote drawing.
- Receiving a mixed bundle
- Label stock by profile, length and quoted finish so replacement clips can be matched later.
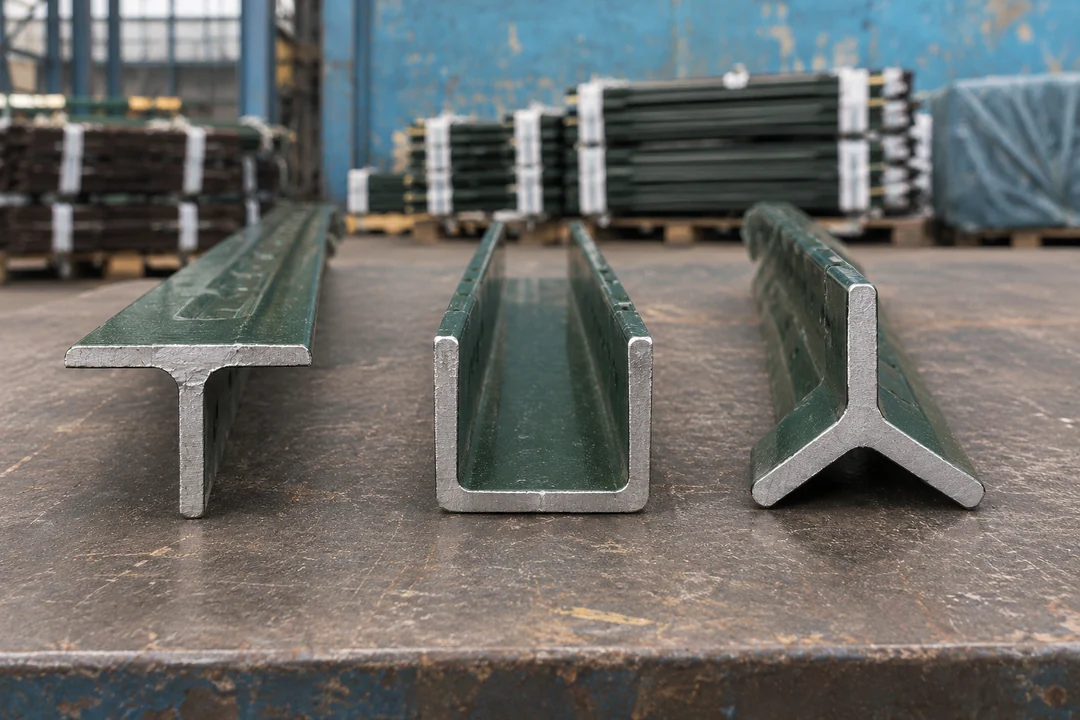
T, U and Y profiles at the same fence line
Place the profile shape in the context of the actual mesh and the person installing it. The trial verifies the attachment points that matter to the field order.
Compare profiles against the mesh fastener- T sectionMark where the mesh or fastener engages on the installation view and confirm the chosen length.
- U sectionShow the opening side and the orientation expected by the worker connecting the mesh.
- Y sectionAsk for the relevant connection detail and note the selected end or anchor configuration.
- Bundle labelGive the profile, length and selected finish a stock reference used by both field and warehouse teams.
The mesh and fastener determine your post comparison
Send one end-on photo with the clip or tie in its fitted position. Compare the profile and punch locations before agreeing on colour or pack quantity. Show the post face alignment on the dimensioned view that accompanies the comparison.
| Order input | Record from the site or stock | Verify on the sample |
|---|---|---|
| Profile | Outside width, contact face and direction of the T, U or Y section | Seat of the mesh or fitting and usable hole pattern |
| Length | Total length and exposed height for line posts, ends and corners | Signed section or representative sample for the used position |
| Finish | Surface treatment, colour and hardware at the chosen length | The selected finish against the actual quote item |
| Handling | Count per bundle and label by length and profile | Receivable pack dimensions and weight for the quoted option |
Confirm finish and length in the same item line
The 8 ft U-post listing gives different coating terms across its specification fields. Let us know the surface you need. Then confirm the total length, size and finish on the quoted item with the sample tied to it. Record length and finish as separate checks for each profile option.
Give every profile an identifiable stock line. Use the 1.52–2.44 m powder-coated T post, the 8 ft U post and the 0.9–3 m Y post as separate references. On the chosen line, confirm the exact length and finish, then photograph the fastener seated on the correct face with the mesh attached.
A field order and a stock order need different detail
Both use the same post identity. Add the part of the specification that helps your receiving team. Ask for location marks on field orders and reproducible stock references on replenishment orders.
- Farm projectGive the mesh, attachments, site conditions and approved use.
- DistributionList lengths, finish and bundle labels by stock line.
- SparesKeep any clip or tie reference with the replaced post.
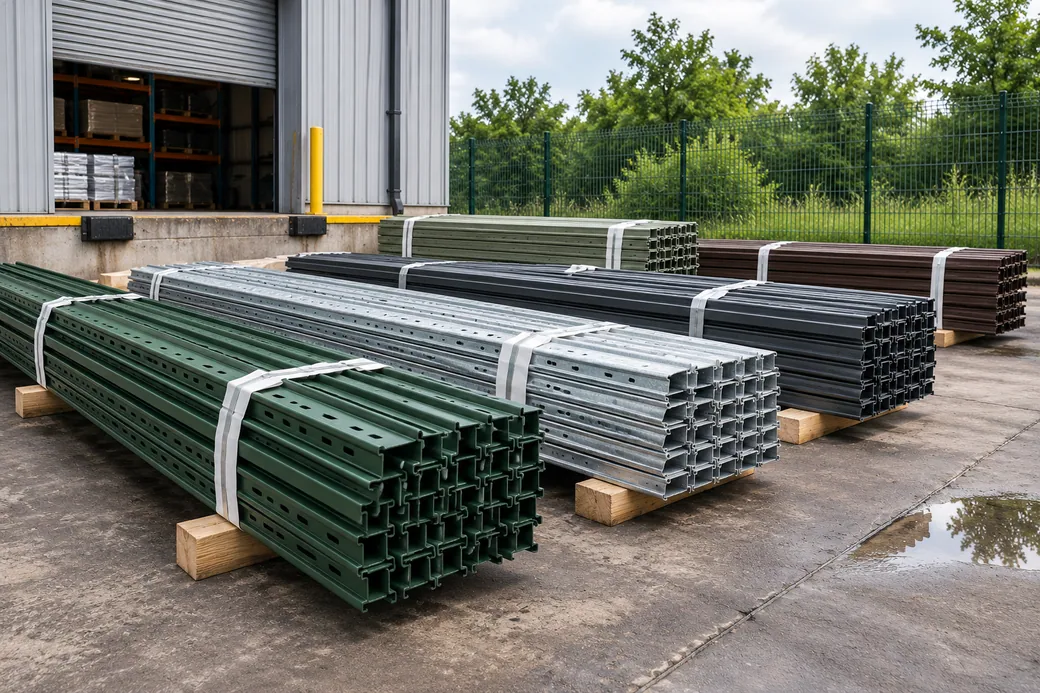
Long bundles are easier to receive when marked by profile
Ask for the bundle size and handling details by length. Keeping T, U and Y profiles in distinct groups helps the depot team send the right posts and fittings to the fence line. Use distinct bundle marks for similar lengths if the receiving rack groups them by profile.
Profile selection, hole preparation and finish
T, U and Y describe cross-sections. Depending on the model, steel sections can be formed from strip or cut from a stock profile before holes are made. The fixing uses one specific face or hole, so show that orientation on the drawing. Include the hole or relief positions the installer will use in the release check.
- Material and dimensionsIdentify the face that meets the mesh
Use the actual cross-section with its flange and web. Show where the retained clip or wire fixing engages.
- Fabrication and fitMeasure holes and finished length from the same end
Keep the cut length and clip positions on the drawing. Confirm the quoted finish by profile where catalogue fields differ.
- Inspection evidenceUse a fitted sample and a legible bundle label
Check that the fastener sits correctly on the sample. Mark each stock line by profile, length and finish before dispatch.
Detailed checks for this order
- Identify the section and fixing faceReview actual flange width, web depth and section thickness by model. Show the clip or tie on that drawing, including the direction from which it engages.
- Check attachment positions after cuttingMeasure centres from the agreed datum and verify the intended clamp, clip or wire fitting. Confirm the allowed length tolerance with the full bundle specification.
- Match finish and label by profileResolve any conflict between title and material or finish fields with a written quote. Request a sample label showing profile, length and finish for each stock line.
Three post profiles and the coating data to confirm
The U-profile description calls its frame uncoated in one field and powder coated in another. Agree on the finish in writing. The USDA NRCS practice information directs buyers in US conservation programmes to the local Field Office Technical Guide for site-specific criteria. Tie the catalogue option to the chosen profile and the mounting parts included in the offer.
- Published range
- 1.52–2.44 m long, 27–34 mm wide, optional anchor-plate field
- Confirm with sample
- Section and attachment direction, actual finish and pack count
- Published range
- 5–8 ft length field and 25.4–119.4 mm width range
- Confirm with sample
- Selected channel, actual thickness, hole details and coating
- Published range
- 0.9–3.0 m long, 20–45 mm wide, PVC-coated finish listed
- Confirm with sample
- Chosen width, Y-section and clip or wire fitting
USDA NRCS fencing practice and local criteria
Browse related products · Fence Posts
Related guides for enclosures and permanent posts
Use the enclosure guide to compare mesh with rigid corral panels. Use the permanent mounting guide for a post placed on or beside a slab. Use the enclosure or permanent mount guide if the boundary has a different structural role.
- If you are selecting the farm boundary tooSmall-Aperture Chain-Link and Rigid Corral PanelsCompare a small-aperture permanent run with separately ordered corral panels.
- If your existing fence uses rollsWholesale Chain-Link Rolls and Replacement FabricRecord finished aperture, wire and terminal fittings before reordering fabric.
Share your mesh and current fitting
Send the mesh and fastener references, post profile preference, lengths and quantities by line or stock code. Include the ground condition and preferred finish.
- Mesh
- Type, clip and sample photo
- Post
- Section, length and finish
- Quantity
- Units by bag, bundle or line
Shuyuan Road, Qingdao, Shandong, China
- [email protected]
- +1 404 203 0971
- Phone
- +86 18561762631