Roll-Top BRC Fence Panels for Park Walkways
For a public walkway, assess a roll-top BRC fence as an installed panel with formed edges, the selected ground clearance and the real openings. Relia’s listings give grid and support options to compare. Send a view of the ground line and gate or end connection so the order captures the edge people will actually see.
- Visible detail
- Rolled edge and ground clearance on the same cross-section
- Distinct line items
- Repeat panels, end posts and access components
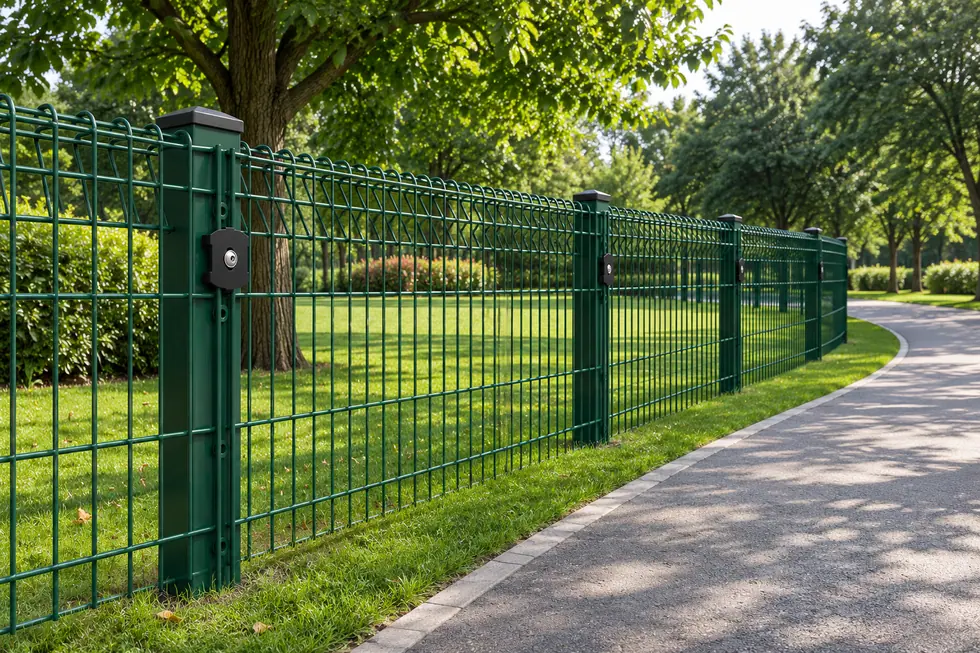
The rounded return is a visible panel detail
Relia lists roll-top BRC panels and a buried-bottom candidate. Tell us the finished surface level, intended top height and lower-edge detail. We can review the correct edge, post and finish combination against the panel options in the catalogue. Photograph or draw the end view of the top return so an offer can refer to the same visible profile.
See the roll-top BRC panel configurationsReview a sample face-on and in profile. Confirm exactly which edge is rolled and how it meets the post. A side view with the finished ground line helps your team judge both the exposed edge and height.
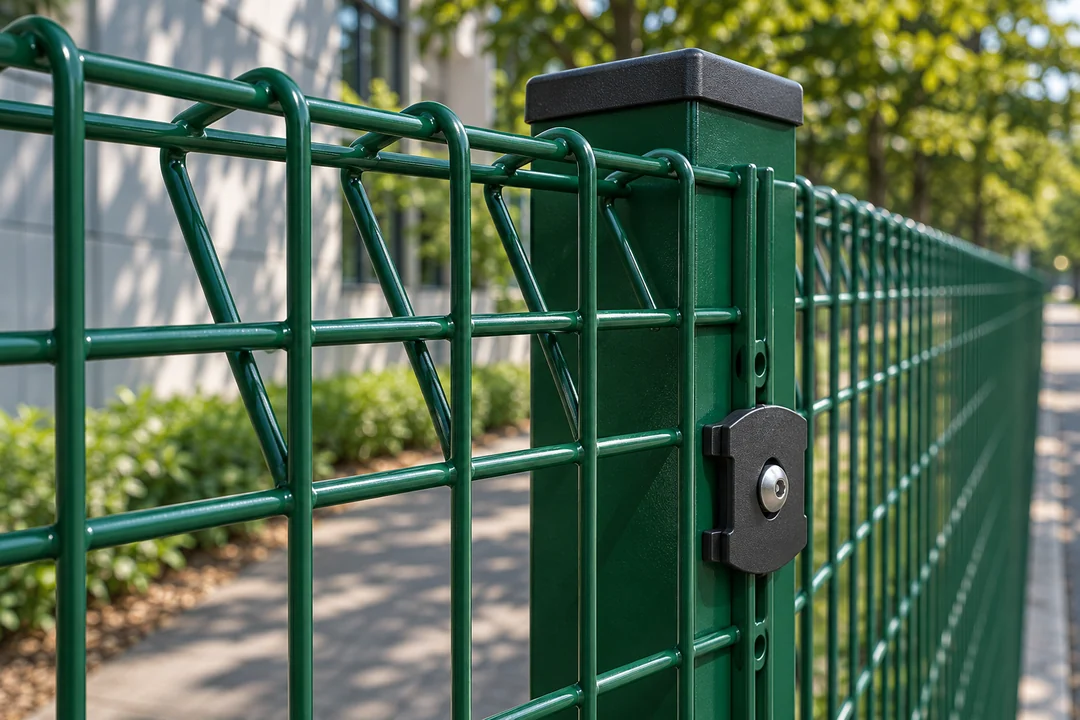
- Returned edge
- Record upper and lower profile and the visible clearance on the walkway elevation.
- Buried-bottom detail
- State the below-grade portion separately from the finished height and top return.
- Fitted sample
- Check the edge in a side view and against the actual bracket and ground datum.
A walkway edge in section
Use a side view at the point where the walkway meets the fence. The detail lets your team check the top return, the first connection and the gap at ground level together.
Check clearance against the site ground line- Formed returnShow the rounded profile and its orientation in the installed panel.
- Finished groundMark pavement and slope breaks where the clearance changes.
- End at an openingDetail the post, gate or termination where the rolled profile stops.
Panel edges and access on a finished walkway
Compare visible conditions along the public path and each opening. A released section should show the path level, the fence bottom and the offset from a pedestrian route. Use the finished walkway surface as the level reference for the assembled edge.
| Review at the walkway | Drawing detail | Receiving check |
|---|---|---|
| Sightline | Top of finished panel and clear grid at key approaches | Face and side sample, especially at changes in level |
| Rounded return | Verify whether the upper, lower or both edges are rolled | Compare the return profile and position in a post/clip assembly |
| Bottom condition | State exposed, buried or other specified detail with the elevation | Show visible height and opening below the panel on the sample |
| Mounts and ends | Record clip, gate and end post locations | Check component finish and special locations |
Bottom clearance is a project input
One listing has a 100 × 300 mm mesh and 6 mm wire option with a buried-bottom description. Use it to compare an actual product. Measure the desired visible height and explain the bottom condition on your drawing. Record clear space at the sloped or stepped lengths separately from the level run.
Use finished surface levels in the fitted view. The 100 × 300 mm roll-top listing specifies a 6 mm wire example. Include the agreed rolled edge and the finish level at the lowest part of each bay. Record the clear gap on the dimensioned site profile and give any gate or stepped section its own line.
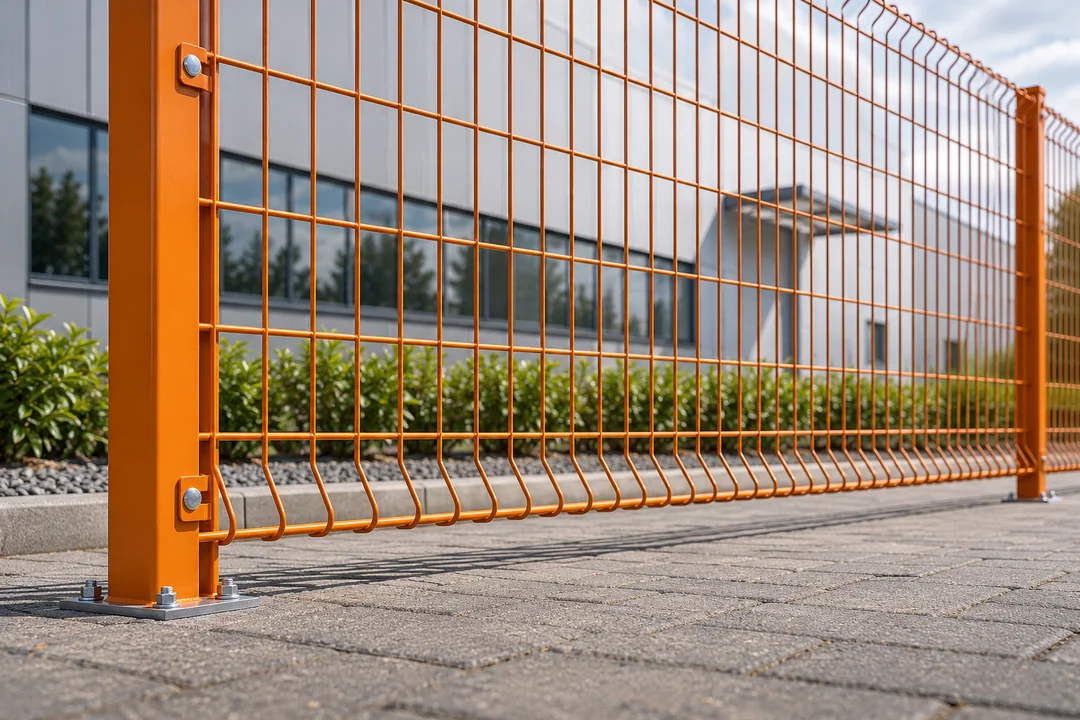
Set the same brief for visible finishes
A walk looks coherent when the panel, posts and fittings follow the same planned visual finish. Give the sample and colour reference to the supplier along with the posts and fixings.
- Panel faceCheck wire pattern and colour on a sample.
- AccessoriesMake clamp and post finish explicit.
- MaintenanceIdentify replacement zones and spare sections.
Access points are separate pieces in the order
Walk the fence line around path openings and turning areas. Mark where ordinary line posts finish, where end posts start and how the opening sits alongside the public route. Count the opening hardware, end arrangements and spares separately from repeat panels.
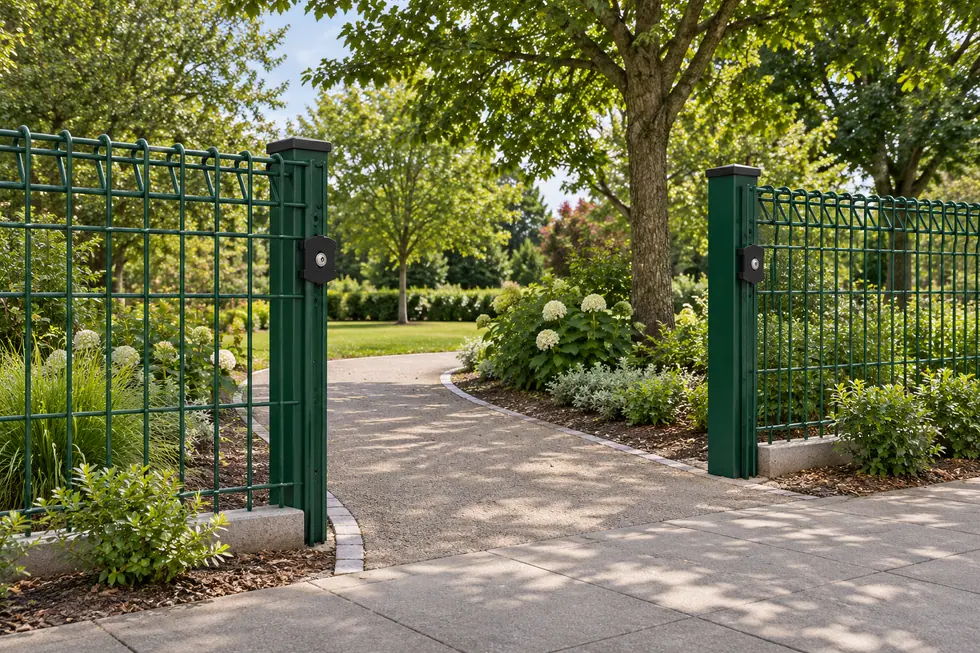
Mesh welding and the formed return
The welded grid and the returned edge both affect the finished shape. Take dimensions from the finished panel and the walkway level that will be used on site. Compare a formed sample against the couplings and post face that the project will use.
- Material and dimensionsDraw the upper and lower edges
Identify the returned edge and any intended buried portion on a side view. Take the finished surface as the reference.
- Fabrication and fitCheck the return on the joined panel
Measure its depth and direction on a finished sample. Panel aperture, edge return and support position each belong on the drawing.
- Inspection evidencePlace the bracket and gate relative to the site
Review the finished height, lower clearance and bracket clearance at the walkway edge before ordering repeated bays.
Detailed checks for this order
- Define the panel gridRecord the selected wire and aperture by model. Joined intersections hold the grid before the edge returns give the panel its profile.
- Form the specified upper and lower edgeShow direction and overall depth of each return on the section. Request a side-view photo of a finished sample. A buried detail also needs the specified below-grade dimension.
- Check parts on the walkway elevationUse the as-finished surface reference to check lower clearance and top height on a fitted bay. Coordinate gates, end panel edges and bracket clearance on the same order.
BRC grid and support options from the product descriptions
The family lists multiple heights, widths and openings. Confirm only the selected values in the order and match the edge condition to the approved walkway drawing. Keep each candidate grid and support option aligned to the model and project drawing.
Buried-bottom roll-top example
- Listed options
- 100 × 300 mm and 6 mm wire featured, with round or square post options
- Confirm for your path
- Which edge is buried and which roll shape is visible above the path
- Listed options
- Height options 900–2400 mm and widths 1000–3000 mm listed, with 3.0–6.0 mm wire field
- Confirm for your path
- Actual panel geometry, top return, clip and finish
ASTM architectural metal fence standards
Browse related products · Roll-Top BRC Fencing
Nearby applications with other priorities
The sports-perimeter guide covers double-wire panels. The post-mounting guide collects the measurements for a paved edge next to a new fence. Use a neighboring guide when the decision moves to access control, mounts or a sports enclosure.
- If the park also has sports or public-access areasFencing for Sports and Public FacilitiesSeparate the fence, gates and access clearances by zone.
- If the walkway ends on concreteBase-Plated and Embedded Posts for Permanent FencesReview the mounting detail against the approved slab or footing before choosing post length.
Share the walkway brief and edge section
Send the top and bottom edge detail, the finished ground levels and the access widths. List panel and hardware quantities by walkway section.
- Path
- Line and opening positions
- Panel
- Edge, aperture and height
- Support
- Post, ground and fixings
Shuyuan Road, Qingdao, Shandong, China
- [email protected]
- +1 404 203 0971
- Phone
- +86 18561762631