Temporary Fencing for Construction Sites
Start a construction site fence order with a plan of the perimeter, openings, ground conditions and screened areas. Relia can discuss temporary panel, base, clamp and brace options for the required format. Quote the line by work phase so the components arrive in the order the crew will use them.
- Takeoff map
- Runs, returns, gates, surface type and screened areas
- Handover input
- Order and packing marks for each work phase or access point
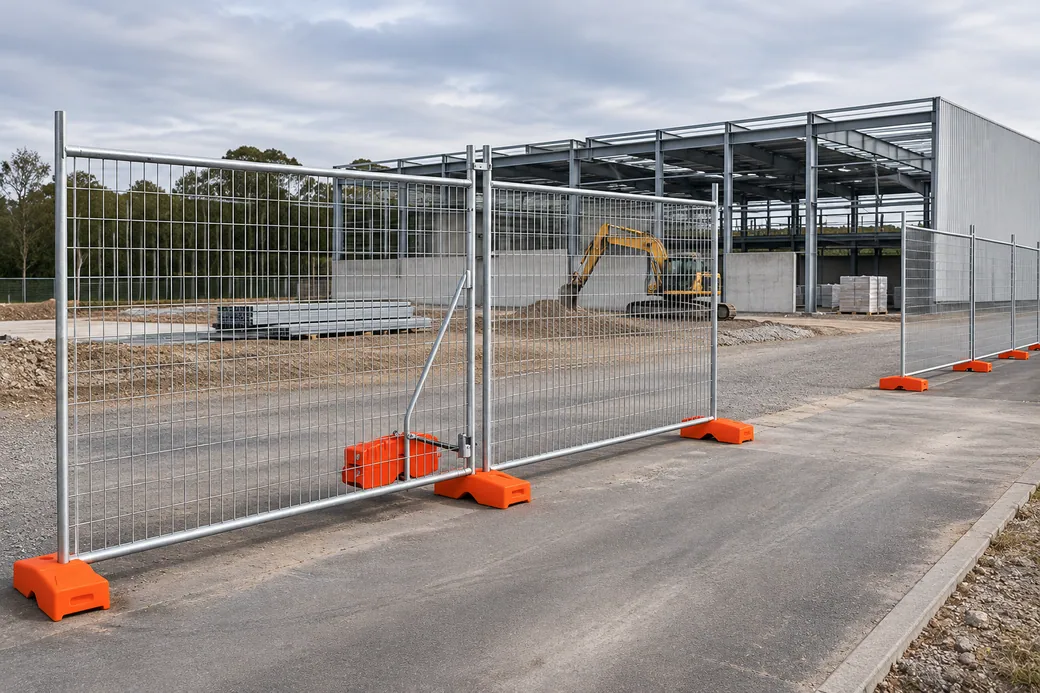
A site takeoff for runs, gates and corners
An uninterrupted 24 m straight run would take ten 2.4 m stock-width units as an initial estimate. Use actual installed dimensions and account for gates, returns, end supports and fit of each selected part in the final takeoff. Relia can review your run list when the plan shows the site datum, openings and any different support locations.
| Area on the plan | What to count | Approval or fit input |
|---|---|---|
| Straight runs | Measured length by surface, panel count and support group | Installed centres, corner returns and actual finished height |
| Vehicle and pedestrian access | Openings measured separately and a gate or movable segment for each | Clear passage, opening sequence and agreed interface |
| Screened runs | Screened length, size and corresponding support type | Engineer-approved wind and fixing conditions for the complete assembly |
- Running boundary
- Measure the joined runs, gate openings, corners and returns from the working plan.
- Screened section
- Mark screened bays and get the assembly and support conditions reviewed.
- Site handoff
- Give each phase a kit list and point of delivery so bases and clamps arrive with their panels.
A site plan that fits the way crews build
Take the perimeter from the active gate to the next work phase. Label the locations where a standard panel repeats and where a corner, return or screening detail changes the kit.
Compare screened and open sections- Access gateMark vehicle width, worker separation and the supports near the opening.
- Repeat lengthName the panel and support combination, assembled height, count and surface type.
- Screen sectionIdentify screened bays for the project exposure review and chosen fitting details.
- Phase edgeMark panels and loose parts that will be reused or moved when the route changes.
Portable panel families for different site jobs
The Australian-style description gives a 2100 × 2400 mm nominal frame. A Canadian construction example lists 2900 × 1900 mm. The American diamond-mesh example gives 8 × 6 ft. Each format has its own frame and fit details. Verify actual legs, frame and feet against the portable panel format selected for the job.
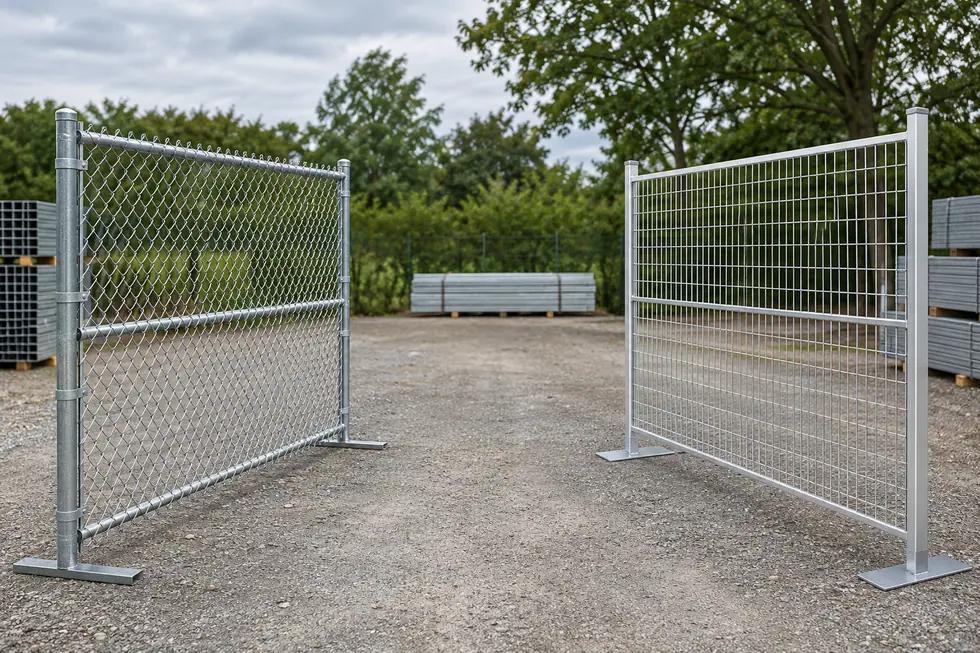
Choose the guide for the purchase you are making
A primary perimeter with supported returns, a replacement panel for a rental fleet and a movable work zone need different product information. Use a dedicated replacement guide when the order has to fit existing feet or connectors.
- Australian-style temporary kitsCompare feet, clamps, bracing and the screened assembly.
- Canadian replacement panelsMeasure the actual base, hole centres and retained fitting.
- American framed diamond meshCheck 6 ft panel assemblies and the next move route.
Open and screened sections get separate approval
Where signs, screens or shade cloth change the load on the run, include the surface and available support in your brief. Mark the locations on the plan. Use the site-approved assembly and wind conditions in the review. Give the reviewer distinct lengths and support arrangements for screened and open sections.
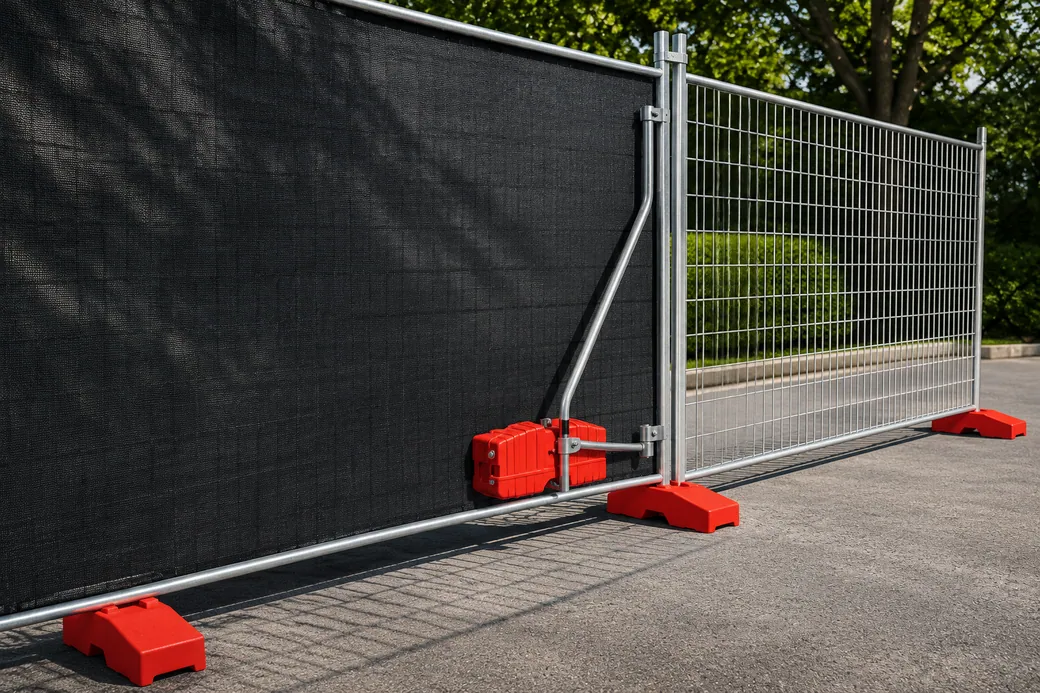
Release the boundary by phase
Use the same run IDs for the quote, installation and later changes. List the phase sequence on the order so delayed or reused sections have distinct references.
- Start with these inputsTake off fitted bays, gates and returns
Use measured lines and opening locations. Decide which run segments can share a portable kit.
- Specify the orderSeparate open and screened sections
The quote for a screened bay needs the approved support and wind requirement alongside the selected parts.
- Verify before releaseReceive each phase with its actual fittings
Use a list of panels, clamps, feet and braces by delivery stage. Check one fitted bay before repeating quantities.
Detailed checks for this order
- Before the workMark clear openings, returns and measured runs.
- On receiptIdentify each panel pack and the approved loose parts.
- Before moving a sectionUse the next approved site layout and keep the necessary access clear.
Check the parts that travel together
A replacement order starts with a single reference panel, base and connector from the fleet. Record the foot slot, upright profile and hardware on one schedule so each moved section can be recounted and restocked. Put all matching clamps and feet on counted pack lines for each release.
Put the bundle and fitted bay on the same takeoff. Use the Australian kit measurements or American framed-panel guide based on the selected system. Put panels, matching feet and clamps on the same identified run. List accessories and spare packs separately when the crew unloads them at a different stage.
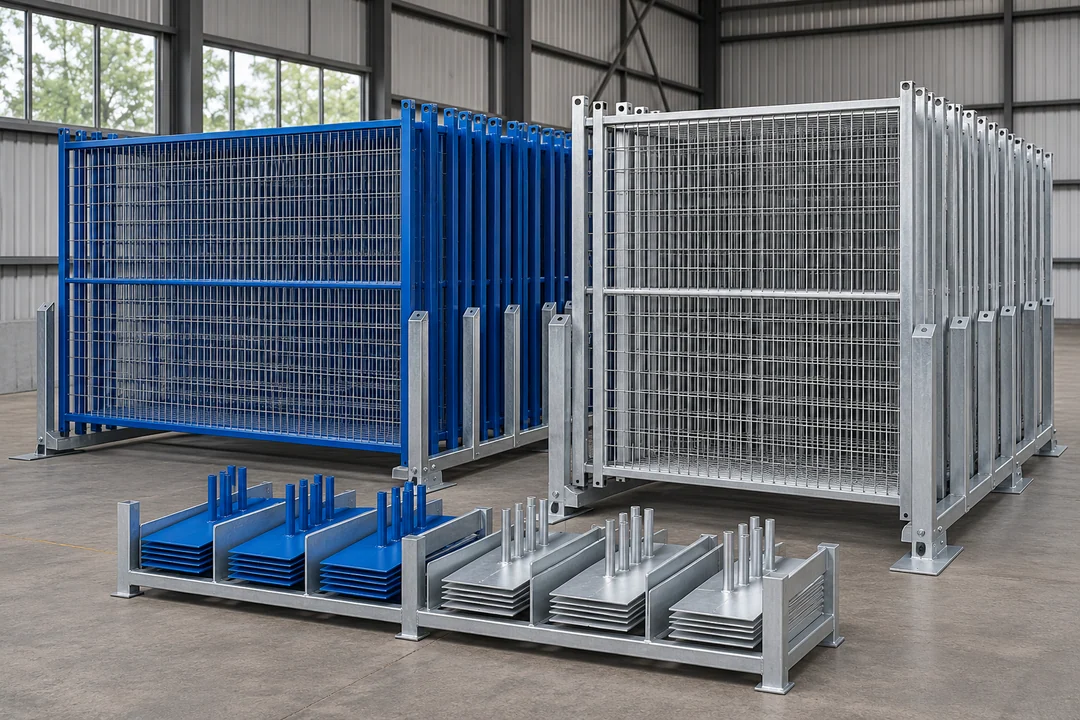
Site references and related purchase guides
Use the relevant jurisdiction and approved plan when reviewing the temporary boundary. These links lead to the product examples and the next procurement steps. Continue into the guide for the chosen kit, relocation or supported replacement condition.
Send your measured run schedule
Send the site takeoff, access widths and the runs that differ in surface or screening, plus quantities and delivery timing by phase.
- Runs
- Length, areas and widths
- Openings
- Vehicle and pedestrian access
- Supports
- Feet, braces and approved fixing