Replacement Posts for Existing Welded Mesh Fences
Use a measured bay as the reference for a welded-mesh post replacement. Record the retained clamp, hole centres, base arrangement and panel gap against one datum. Relia’s post options offer a starting point, and a fitted sample with the actual mesh and hardware can settle compatibility before a larger repair order.
- Keep on hand
- A retained clamp, measured post and picture of the installed bay
- Proof to record
- A fitted one-bay sample with hole pattern and clearances checked
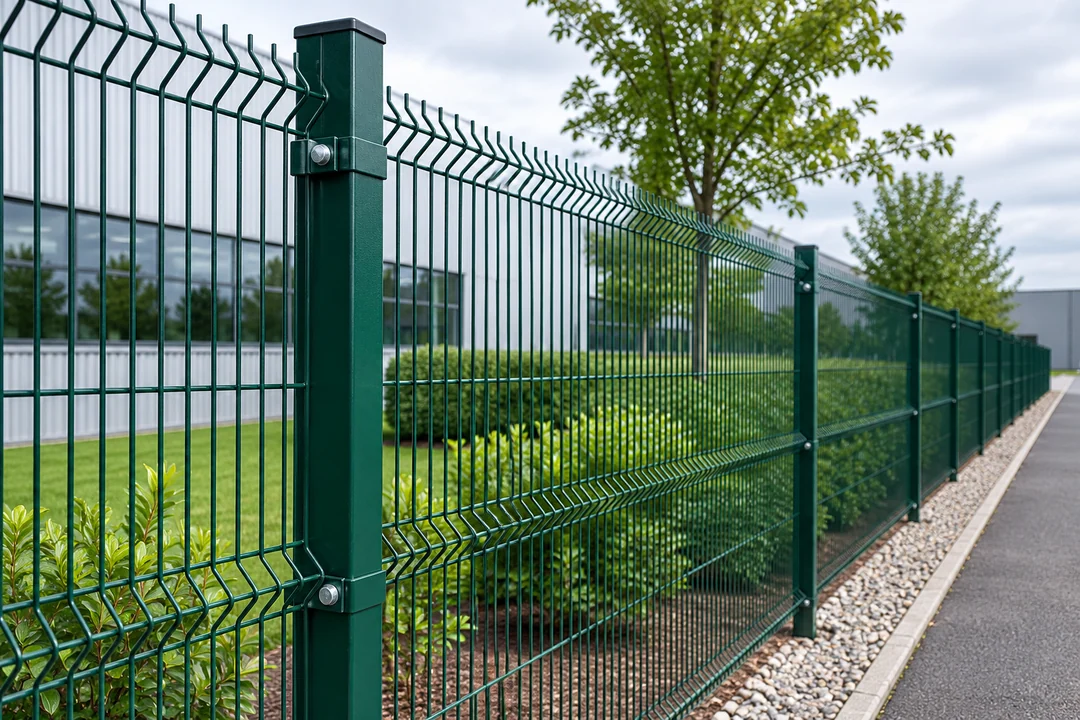
The retained clamp is a useful reference
Relia can review a retained panel and clamp against its round or square welded-mesh post options. A straight-on photo of the hole face with dimensions helps us identify the drawing changes and fittings that belong on the replacement quote. Include the retained clamp in the field photo and label the face that meets the post.
See the welded panel and matching support optionsKeep one clip with the old post and panel position noted. Photograph the clip, the hole it meets and the wire it holds. This lets us check the conditions on each side of the join.
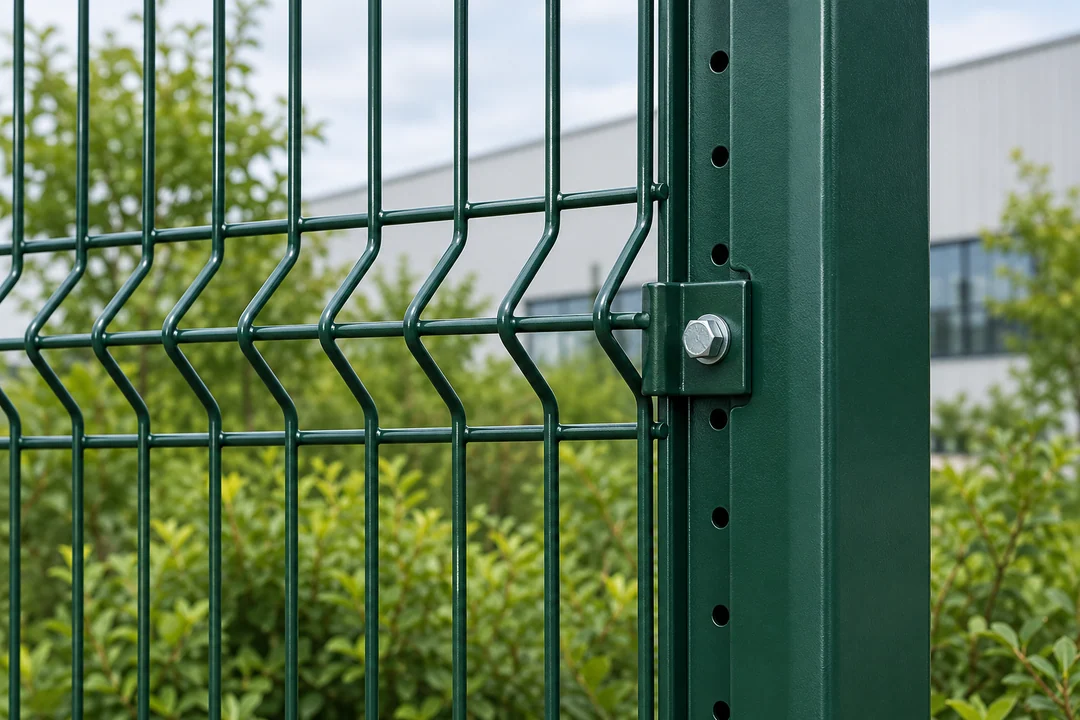
- Retained mesh and clamp
- Use a serviceable part to check the profile, wall and clamp fit.
- Retained hole pattern
- Measure hole positions and diameters from an agreed lower edge or installed level.
- Before repeating the replacement
- Dry-fit the finished post in one bay and record the accepted fitting.
A field record that travels with the replacement
Put the retained part and the proposed part on one sheet. Give the site installer the same hole, height and base references the buyer uses to approve the replacement.
Use a single bay for the fitting trial- Post and panelMeasure the post outside section and gap to the adjacent panel from a fixed height reference.
- Clamp patternMeasure bolt or hole centres and describe the face on which the clamp attaches.
- Ground connectionMark retained footing or anchor holes, clearances and the condition of the existing mounting.
- Trial receiptRecord the fitted condition and any adjustment accepted before ordering further quantities.
A measured receipt sheet for one replacement bay
Use the same foot edge or ground datum when comparing photos. Record offsets from that point so the original and replacement hardware can be laid together during acceptance. Give the repair location and fixed height reference on both the measured sheet and proposed drawing.
Save a measured retrofit record for the next repair. The welded-mesh panel catalogue entry lists round and square post options. Record the measured outside section, mounting-face orientation and hole centres from the retained clamp. Keep a photo of the fitted post beside the approved drawing, along with the base hardware reference.
| Field | Measure on the retained post | Confirm on replacement |
|---|---|---|
| Section | Outside size in each direction, wall and orientation | End-view drawing with material and finish |
| Panel connection | First hole to datum, spacing, diameter, clip throat and fitted wire | Exact hole pattern and clip that holds the retained panel |
| Base | Mounting detail, visible and overall length | Base outline or embedded section and approved connection detail |
| Trial fit | Record an original panel and fitting ID | Confirm one fitted bay and retain the approved reference for reorder |
A matching profile still needs matching holes
The catalogue offers a 3D mesh system with round or square post options and a separate T-profile post. Use these as starting points for a written fit review. Attach your old section, hole positions and connector photo. Measure the hole pattern directly because a matching profile serves several available assemblies.
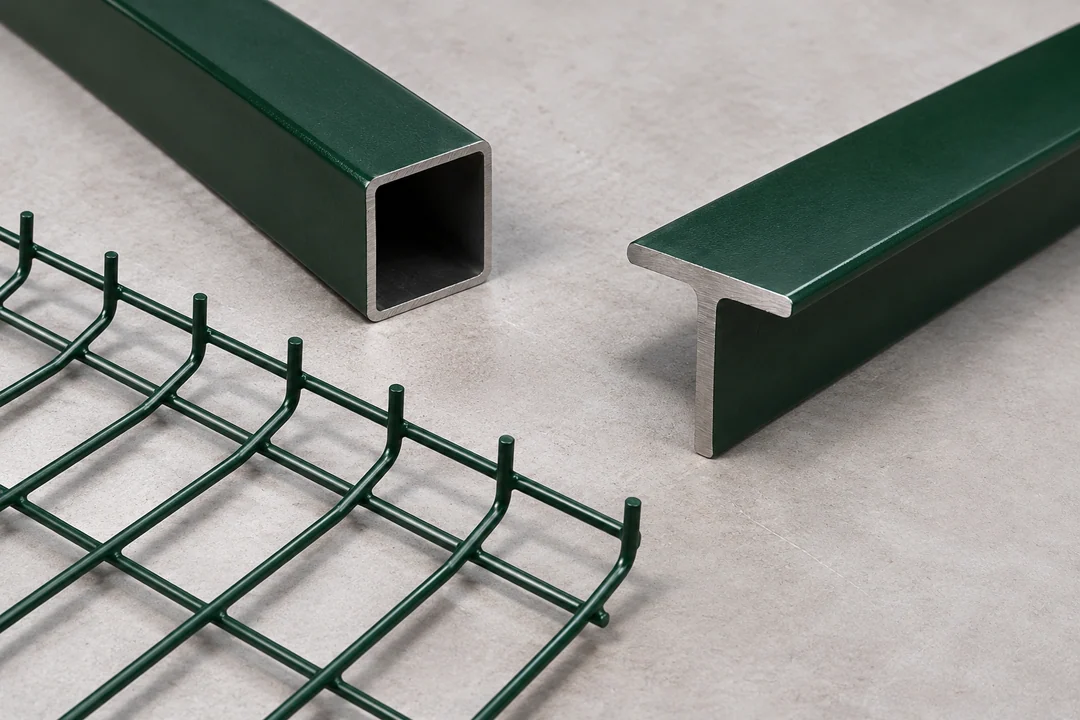
A one-bay sample keeps replacement practical
Choose a representative bay with the original clamp and retained mesh in good condition. Include the retained mesh and clamps when checking one standing replacement bay.
- MeasureRecord the actual hole pattern and position.
- FitCheck the new post against both retained parts.
- RepeatKeep the accepted part number and coating record.
Finish and footing details affect the repair order
Tell us how the old post meets the surface and which visible finish needs to match. If the base or edge conditions differ between bays, group the replacement quantity by location. Capture the substrate and how the finish meets the remaining run on the same view.
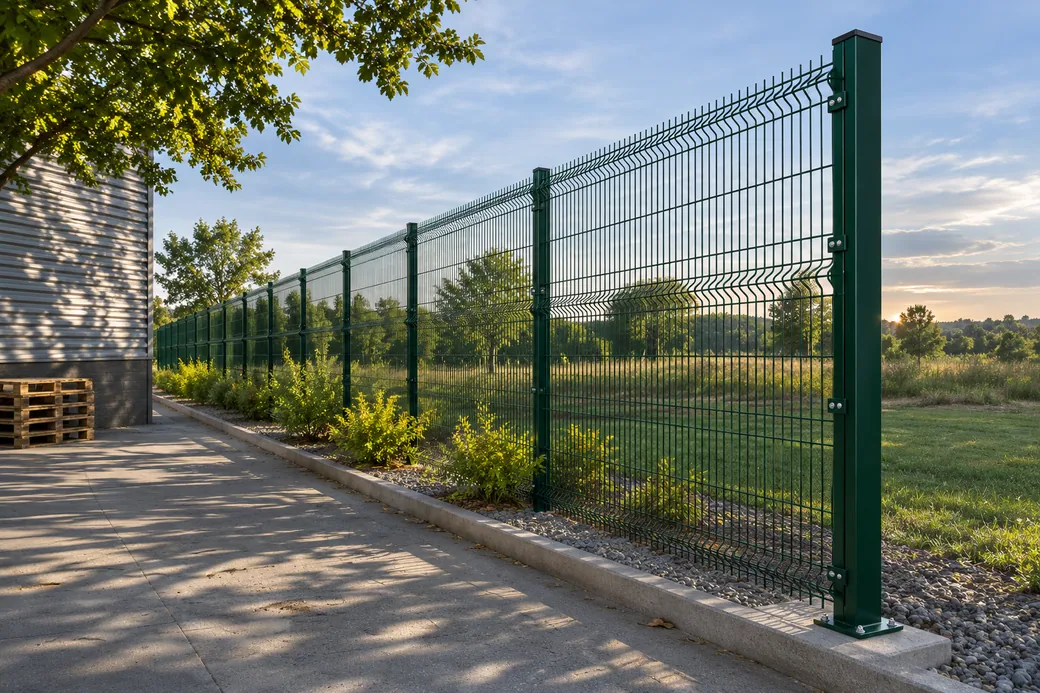
Replacement post machining and sample fit
The replacement drawing is most useful when it includes a face view, the cross-section and the old clamp in position. Finish and hardware tolerance have to be included in the fit. Hold the machined option to the approved hole and base pattern before the batch release.
- Material and dimensionsMeasure one straight post and its clamp
Record the profile, wall and holes from a shared lower edge or installed level. Include the retained base or mounting detail.
- Fabrication and fitRecheck the hole face after finishing
Compare the hole and clearances with the actual clamp. A matching outside profile can still have a different fastening line.
- Inspection evidenceRecord the working bay before ordering the rest
Use the retained panel and fixings in the trial. Keep the accepted drawing and any bracket or shim on the repeat item list.
Detailed checks for this order
- Take the dimensions from a sound referenceRecord section, wall and hole geometry. Mark the retained panel underside or installed level as the datum so the old and new holes can be compared.
- Specify the hole and mount before finishingPut the hole geometry and mounting detail on the order drawing. Agree whether punching or drilling is used for the quoted configuration and specify the finished dimensions. After the selected coating is applied, recheck the hole and the post-to-panel clearance on a sample.
- Save a one-bay fit recordPhotograph the clamp fastened to the sample with retained parts. Record any bracket, bolt or shim specified on the approved detail so the repair can be repeated from the same part list.
Catalogue support options and actual compatibility
A label such as round, square or T helps identify the starting profile. Order the component by its exact section, hole pattern, fastening and base dimensions. Compare candidate post listings using the fitted measurements, including the support option actually quoted.
- Description fields
- Four post profile choices are listed with the 50 × 100 mm panel example
- Request on the repair line
- Which support fits the retained panel width and clip position
T profile with anchor plate option
- Description fields
- 27–34 mm width and 1.52–2.44 m listed length with powder coat
- Request on the repair line
- Exact cross-section, punch pattern, quoted anchor option and real fit
ASTM architectural metal fence standards
Browse related products · Fence Posts · 3D Curved Welded Mesh
Related fitting checks for panels and new bases
For a dense mesh panel, review its clamps and support detail. If the job changes the foundation, work from the permanent-post mounting brief. Follow the panel or new-mount guide if a repair requires replacing either side of the old joint.
- If the same repair changes the mounting typeBase-Plated and Embedded Posts for Permanent FencesCompare the mounting sections and keep the finished panel datum.
- If the retained system is narrow-aperture mesh358 Security Mesh Panels, Posts and ClampsCheck the complete panel, clamp and fixing configuration.
Send the retained post, clamp and base details
Send the location, old post section, clamp sample or measured pattern, base arrangement and replacement counts. Attach photos of a sound retained bay.
- Retained
- Panel, clamp and fasteners
- Dimensions
- Section, holes, base and length
- Finish
- Surface and quantity by bay
Shuyuan Road, Qingdao, Shandong, China
- [email protected]
- +1 404 203 0971
- Phone
- +86 18561762631