Temporary and Permanent Fencing for Phased Industrial Sites
Plan an industrial site fence with separate release points for the temporary construction boundary and the permanent handover. A shared run map lets Relia quote moving panels, repeat perimeter bays and posts by phase. Identify what stays in service, when the new boundary is accepted and how parts will be received.
- Project record
- Current and handed-over boundary views with named phase dates
- Release check
- One accepted parts list for each phase and a handover responsibility
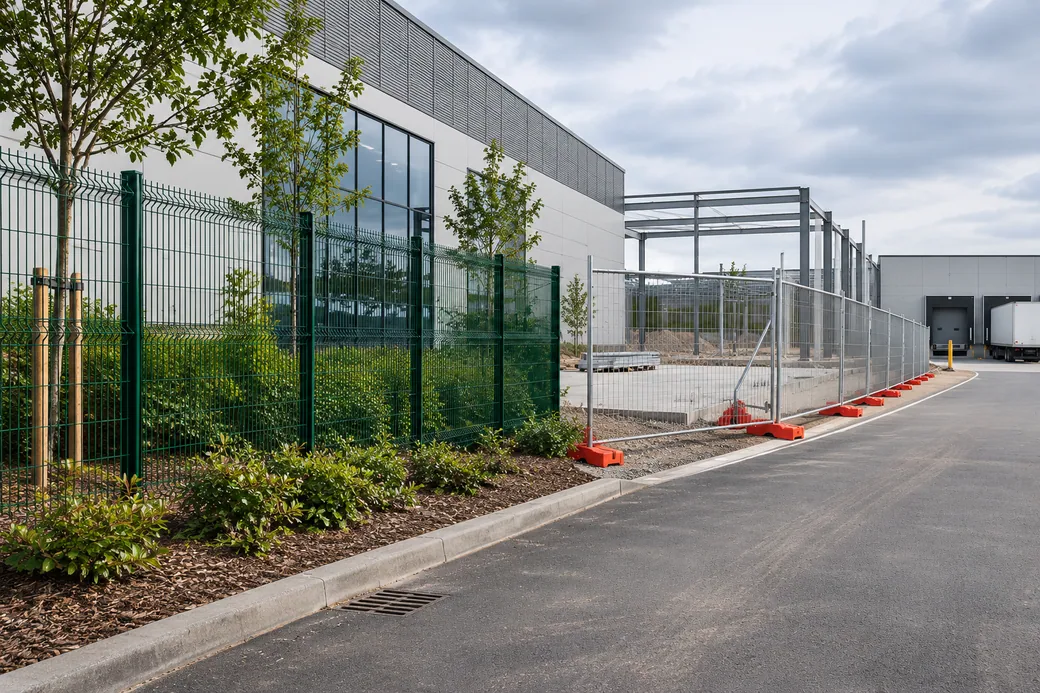
The handoff from temporary boundary to permanent fence
Relia can review both fence groups in one enquiry. We keep the temporary frames, feet and clamps separate from permanent panels, posts and fixings. That makes the quote and pack list useful to each crew when the site changes phase.
See the reference panel for the temporary phaseDraw both stage boundaries and name the owner of each release. Check site access at each transition before approving the delivery sequence. Give both boundary plans the same run references where the work changes at handover.
| Release point | Construction schedule | Handover schedule |
|---|---|---|
| Before order | Segment layout with panel, feet, approved support and spares | Approved permanent line with chosen panels or fabric and supports |
| Before each delivery | Pack quantity, access zone and movable set identification | Matching labels for posts, fittings and fixed bays |
| At transition | Hand off site access and agreed boundary arrangement | Receive permanent parts by installed segment and log approved spares |
| After handover | Identify retained or returned temporary parts | Keep final drawing revision, fitting references and reorder list |
- Construction release
- Quote temporary panels, bases, clamps and braces against the working site route.
- Handover release
- Use the finished levels and gate openings to release permanent mesh, posts and fittings.
- For a shared receiving area
- Mark every pack by phase, drawing revision and assembly.
Two fence releases with one site handover
Put each order on a separate lane, then connect them at the point where responsibility for the boundary changes. The plan lets the installer and receiver see what is available before work moves.
Compare the release points for each material group- Temporary runMark removable panels, bases, screening locations and the release for mobilization.
- Permanent supplyRelease the selected mesh, posts, gates and fitting list to the approved drawing.
- Transition checkIdentify the date and responsible reviewer for the new boundary and its access points.
- Receiving marksKeep phase labels on bundles, fittings and parts retained for handover or reuse.
The construction fence follows a changing route
The loading and access route may change several times. List each run by phase and show the ground or paved surface. Add the temporary fittings and spare pieces your installation team will move or hold. Mark the moving panels and the working access that stays available on the temporary view.
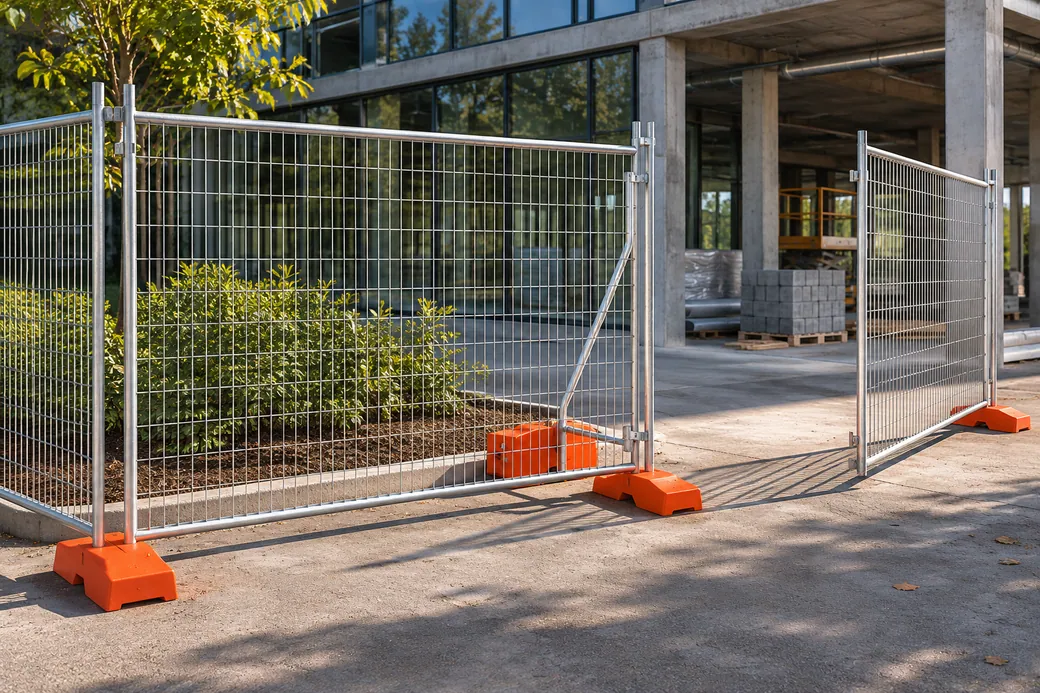
Set a release point for each material group
The two material lists can share a project name. Give each a release date, destination and agreed proof. Keep agreed approval and delivery milestones beside the part group they release.
- TemporaryKit scope, assembly and planned move dates.
- PermanentApproved drawing, post details and final runs.
- ReceptionDelivery windows and pack ID format.
The finished boundary follows the handover drawing
Choose the permanent mesh system after the final openings, levels and mounting are confirmed. We can review panels or rolls and list the matching support components by segment. Use the project handover drawing to identify the permanent mesh and openings.

Keep approvals and receiving tied to the phase
A brief stage record helps the office and the crew refer to the same order. Record acceptance documents at the stage they support.
Keep one traceable release for each boundary. Identify the temporary panel candidate on the mobilization drawing and the welded mesh candidate on the approved permanent layout. Include the dated release and the accessory counts with each purchase. Keep the same phase code on the packing marks and the receiving checklist.
- ApproveRecord the appropriate plan and part references.
- StageKeep each group of fittings with its intended pack.
- HandoverConfirm installed sections and matching spares.
Pack and identify the parts by stage
Separate temporary loose fittings from permanent mounting hardware. Use the receiving point and module references in the packing list so installers can find each shipment's parts. Make unloading and access instructions visible on the packing records for each phase.
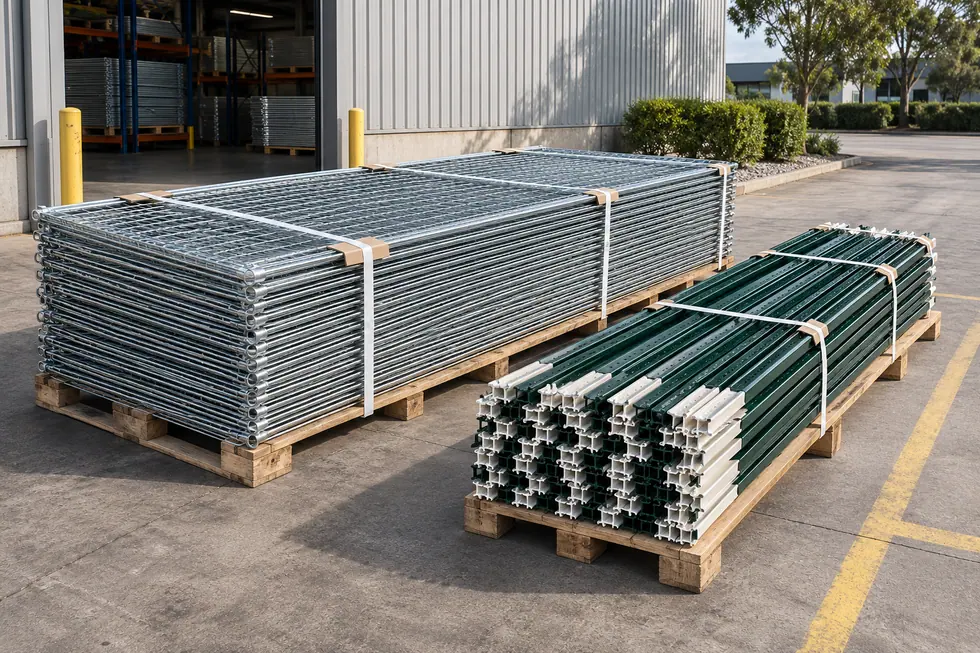
Two production releases and a controlled handoff
Keep one revision and acceptance list for each phase. The temporary kit and the permanent welded bays are made, checked and packed as separate assemblies. Identify the handoff condition for every first assembly before shifting quantities across phases.
- Material and dimensionsSeparate the temporary plan from the finished layout
Use the working route for portable kit quantities and the finished elevations and openings for permanent posts and mesh.
- Fabrication and fitAgree construction and handover drawings separately
Specify accessories with the temporary kit. Keep the permanent grid, mount, coating and fastening conditions on its approved drawing.
- Inspection evidenceMatch packing labels to the release dates
Check panel and fitting counts by phase. Distinct pack references help keep permanent gate and clamp hardware available for handover.
Detailed checks for this order
- Release the temporary kit firstUse the working route and gate layout for the joined width, feet, connectors and braces. If routes change frequently, include the handling path and how loose parts are identified.
- Release the permanent system from approved dimensionsSpecify the welded mesh geometry and formed ribs, then the post body, mount and clamp. Agree the coating route by item and review the first permanent bay against the finished level.
- Label the packs for each receiving stageCheck physical quantities against the two drawings and the quote. Put the stage, revision and component type on each pack label so a first-phase delivery does not consume the handover hardware.
Two assemblies and a separate post line
Link each product record to the release where it belongs. Select the hardware and inspection scope by installed condition and confirm any product or approval details that affect the construction or handover dates. Compare fitted temporary and permanent options on separate lines with post and accessory counts.
Australian-style temporary mesh panel
- Published data
- 2100 × 2400 mm with 60 × 150 mm mesh and a 100 mm base insertion note
- Order line detail
- Temporary assembly and site-specific support details
- Published data
- 50 × 100 mm and 3.0 mm example, widths from 2000 to 2900 mm among listed choices
- Order line detail
- Panel dimensions and confirmed posts and connectors for the permanent run
- Published data
- 1.52–2.44 m lengths and 27–34 mm stated widths
- Order line detail
- Profile, connector interface and pack by actual mounting schedule
Standards Australia AS 4687.2 scope
Browse related products · Temporary Fence Panels · 3D Curved Welded Mesh · Fence Posts
Work from the component guides
The temporary kit guide covers construction-stage supports. The warehouse perimeter guide compares permanent systems. Our factory guide lists the information for a mixed quote. Open the component guides when one specific support or connection needs additional measurements.
- Before releasing the temporary kit2.1 m Australian-Style Temporary Fence KitsCheck the base, tube and any screen in the fitted assembly.
- If several parts share a purchase orderChina Fence Manufacturer for Wholesale and Project OrdersKeep the different manufacturing routes and receiving checks on their own lines.
Submit two layouts and the stage schedule
Send both boundary drawings, phase dates, access points, support details and quantities. Identify who releases the permanent section at handover.
- Stage one
- Layout, temporary kit and move dates
- Stage two
- Permanent layout and matching supports
- Delivery
- Counts, release dates and spares
Shuyuan Road, Qingdao, Shandong, China
- [email protected]
- +1 404 203 0971
- Phone
- +86 18561762631